Making A Pre-Amp Module
Last updated 4/01/03
So
far, (although I've only been looking for a month) I haven't been
able to find any spare pre-amp modules for sale on ebay, which is
where I have been told they appear for sale on a fairly regular
basis. So I decided to manufacture one myself, a Hi-Gain module..
It's a little bit of work, but you can build a couple of modules
for around $50.00 or so, parts, materials and pre-amp tubes,
minus the plastic enclosure. Or three modules for around $65.00
(This is of course assuming you already have all the tools you
need to construct one) All you need is basic schematic reading
skills and a fundamental knowledge of how circuits work. See
links below for schematics and PCB layouts.
The hard part is getting an exact PCB layout. Fortunately, I have
a digital camera and AutoCad. AutoCad allows me to take a picture
of an existing pre-amp module PCB, and import it as a device
independent object into my drawing. Then I can draw on top of the
picture and then cut the picture out of the drawing, and I have
an exact duplicate of the PCB, after scaling it to real world
dimensions. Then I can print it out, and use something like
Press-N-Peel (available at www.smallbearelec.com) to iron it on to a blank
PCB to etch. I actually just printed it out on a HP LaserJet
printer onto regular paper and ironed that onto my blank PCB.
That leaves enough toner on the board to fill in the rest with
the etch resist marker supplied with the PCB kit I bought at
Radio Shack for $15.00
I got very good results, having never attempted making a PCB before. Just about anybody good with their hands could make a PCB. But I think the Press-N-Peel would be a lot easier to work with. Below is some pictures of this project:
Addendum: Lately, I have been getting lots of emails from people asking me to make them modules. Sorry, I can not build any for you. What I would have to charge you to make some modules for you would be far more than what you could buy them for on ebay. They come up for sale on a fairly regular basis.
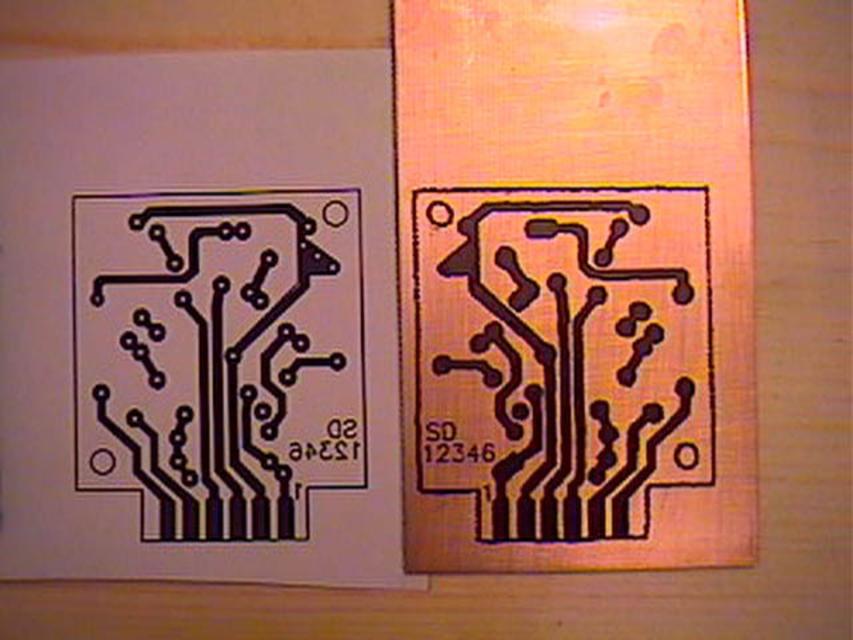 |
Here is the board before etching. Next to it is the print out I used for the "iron-on transfer". |
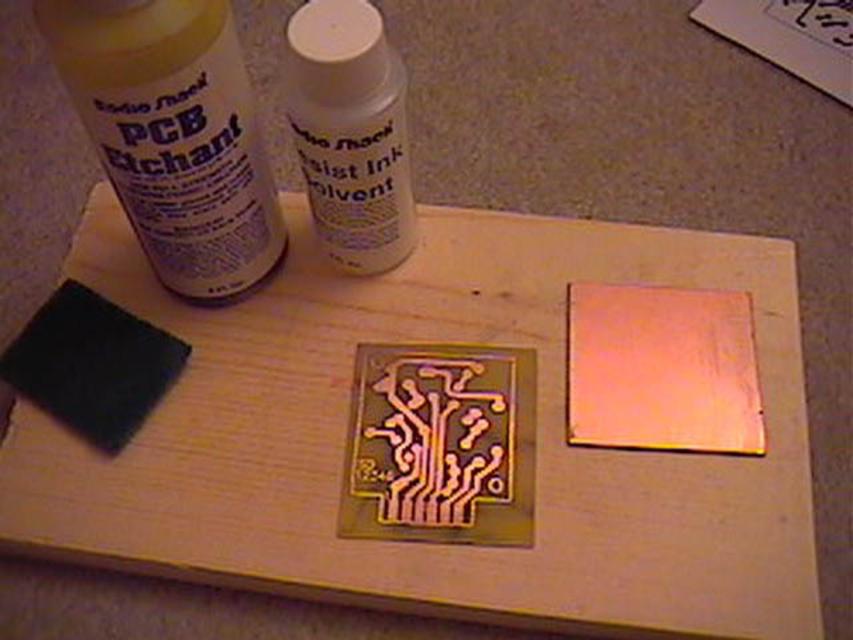 |
Here is the PCB after etching. I followed basic recommendations for making a PCB. Clean board, etc. It took about 1/3 longer to etch the board than the instructions said it would, though. Which means it took about 30 minutes instead of 20. |
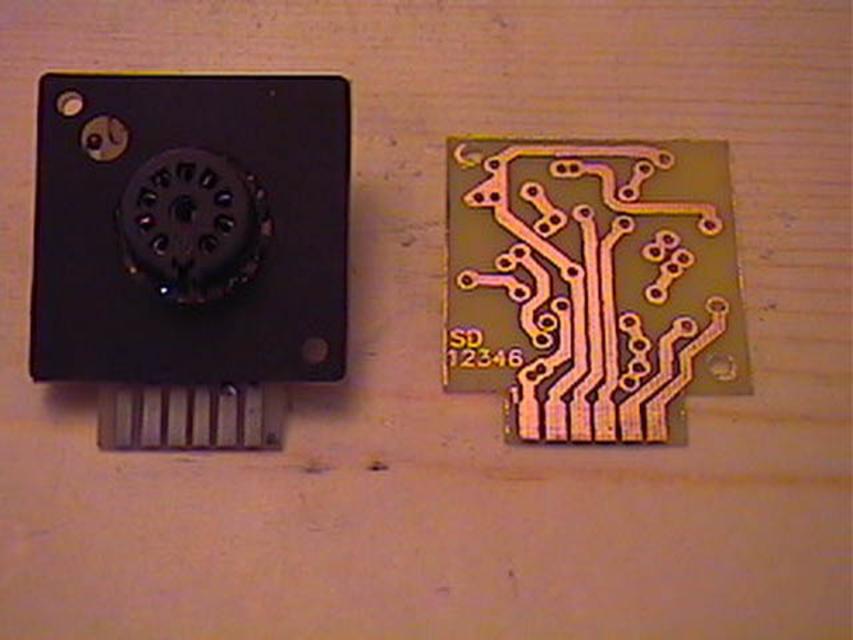 |
Here is the new PCB next to the existing pre-amp module I won't be using. I am going to use the existing enclosure to mount the new PCB into. I used a Dremel tool to trim the board and drill the holes in the board. A drill press would come in handy for this, although I just stuck my board in a vise and drilled away... |
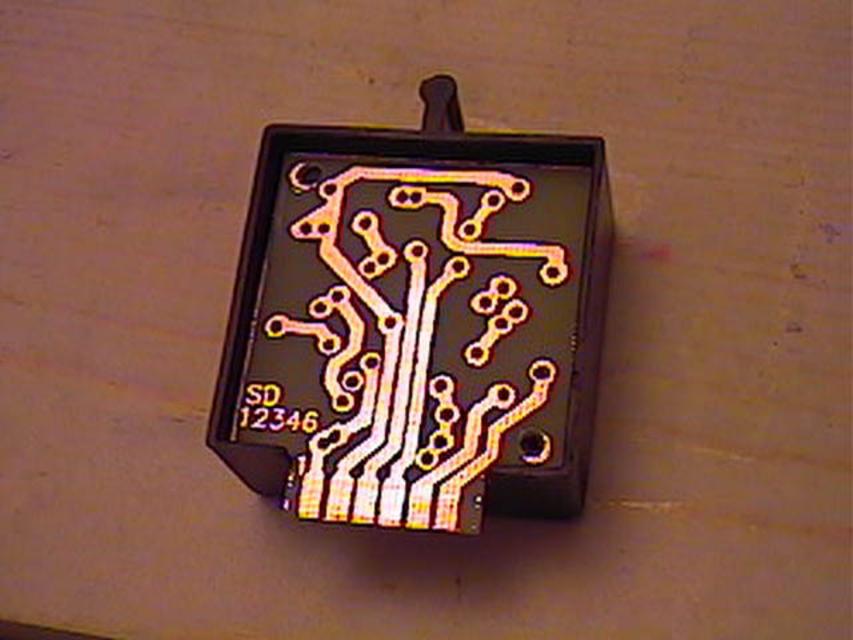 |
A perfect fit! Since only two screws hold the PCB in the enclosure, it would be very simple to change out the guts if I decide I don't want to use my manufactured module anymore. |
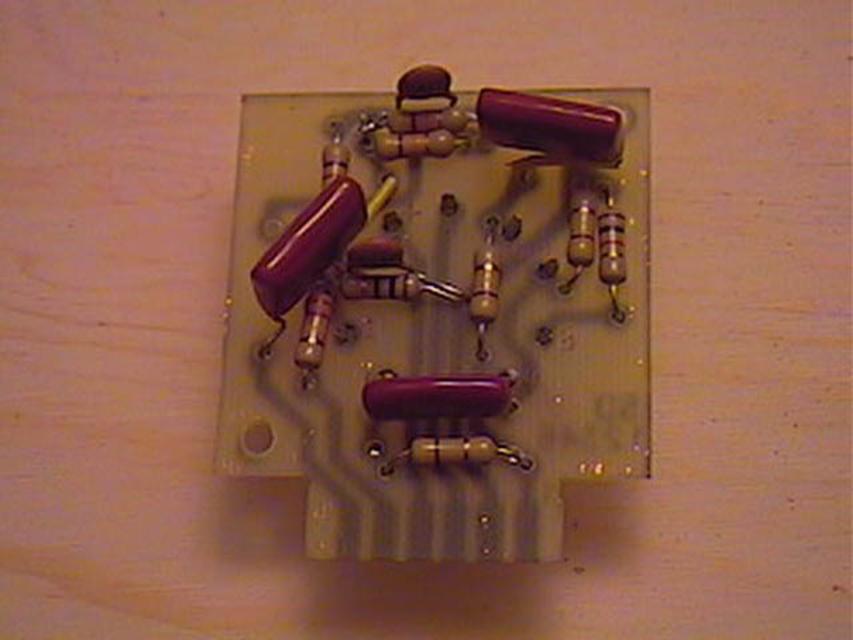 |
Here is the all of components mounted to the PCB. |
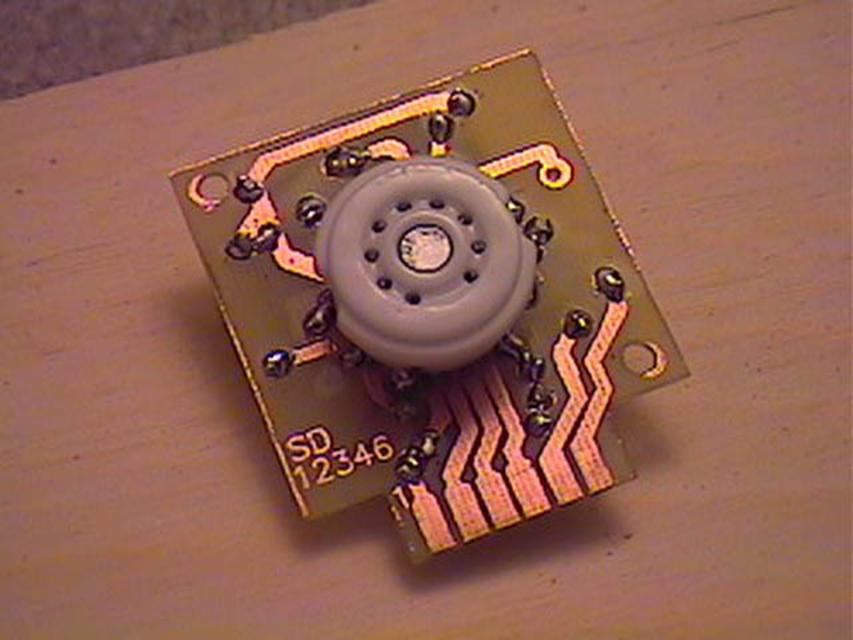 |
Here is the other side. This is a 9-pin PC mount ceramic tube socket. I got it at www.thetubestore.com for $2.50 |
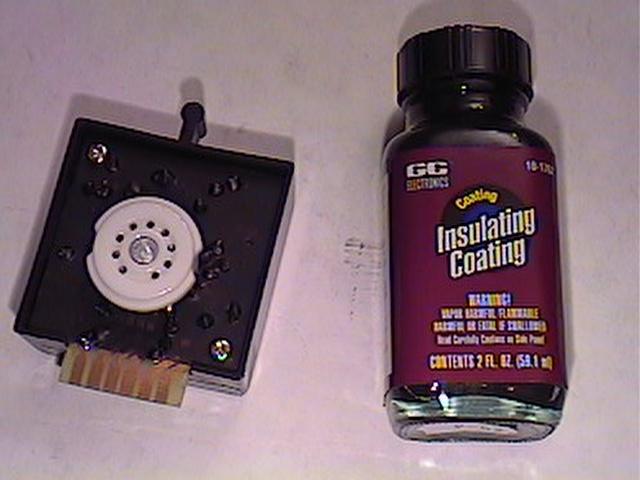 |
Here is the module after the application of an insulative protective coating. |
There were a few difficulties assembling the board, the main one being the tube socket I ordered was a little difficult to get into place, but it is just a matter of aligning the pins to fit in the holes. Also, this socket sits about 1/16" higher than what were originally used in the factory preamp modules. Not enough to cause any problems. But the tube sockets available at www.VibroWorld.com work a little better.
I
found that a 1/16" drill bit is a little large for the holes
for the components. The 1/32" Dremel engraving/cutting bit
(#105) works great for making the small holes for the component
leads. Just pretend it is a drill bit... A 1/16" drill bit
may or may not be too big for the tube socket, depending on which
socket you get. After everything is done, a generous application
of insulative coating to protect all the traces from oxidation is
also a good idea. I bought some from my local electronics store.
It's similar to the coating on computer PCB's, but not green. The
stuff I used is made by GC Electronics, and has a built-in
applicator on the cap.
All in all, I got professional quality results.
Apparently Seymour Duncan had the 2"x2"x1" black plastic enclosures custom manufactured for them. The closest thing I can find to the original is the #1596B108 1.96"x1.96"x1.18" (50mmX50mmX30mm) black ABS plastic potting box made by Hammond Manufacturing , Electronics Group.
This
box would require modification for use with the Seymour Duncan
preamp modules.
Also, interstingly, Seymour Duncan still has some blank
"module cups" that can be purchased directly from them.
That's how I got enclosures for the five modules that I have
built to date.