Uniwah Switch Replacement Project
Last updated 3/2/2024
By Paul Marossy
One thing I don't like about the Uniwah is the footswitch arrangement. I am fine with the switching between wah & volume modes in the heel down position as opposed
to how it's done on most wah pedals - in fact I prefer that.
However, the problem is that with the type of switch they used originally, there is about 3/16" difference in height of the plunger in the switch between modes.
This meant that I could not go full heel down in wah mode without it changing to volume mode. That was a problem for me. I tried to see if I could get it
to work by using various thickness rubber bumpers and could not achieve what I wanted. Then the plastic plunger in the switch broke. Argh!
So I went on a quest to find a replacement switch and could not find anything exactly like it. The closest thing to a drop in replacement was a Schadow F2UEE latching type, which I confirmed will fit into the PCB, but it does not take care of the aforementioned problem I had with the original arrangement. After a few days of debating about how to make it be how I wanted it to be, I came to the conclusion that I really needed a type of switch where the plunger always returned to the same position, like the standard "stompbox" switches we are all used to. I investigated using a Philmore 30-005 DPDT Push-ON / Push-ON minature type switch so I could use the temporary switch bracket I had made but it was still too problematic due to the switch height and the pointy end of the plunger.
The only real option, in my mind, was to use a standard 3PDT switch. The problem was the physical room available for the switch and getting wires from it to the PCB. It was
honestly one of the most annoying and irritating pedal modifications I have done, due to the way the thing is constructed, but I am quite happy with the results. I only went thru all this trouble because I really do like the volume pedal fuction on this pedal and wanted to be able to easily use both modes. This is the ONLY wah-volume pedal I have where I will actually use both modes.
Below are details of the the process of making the change.
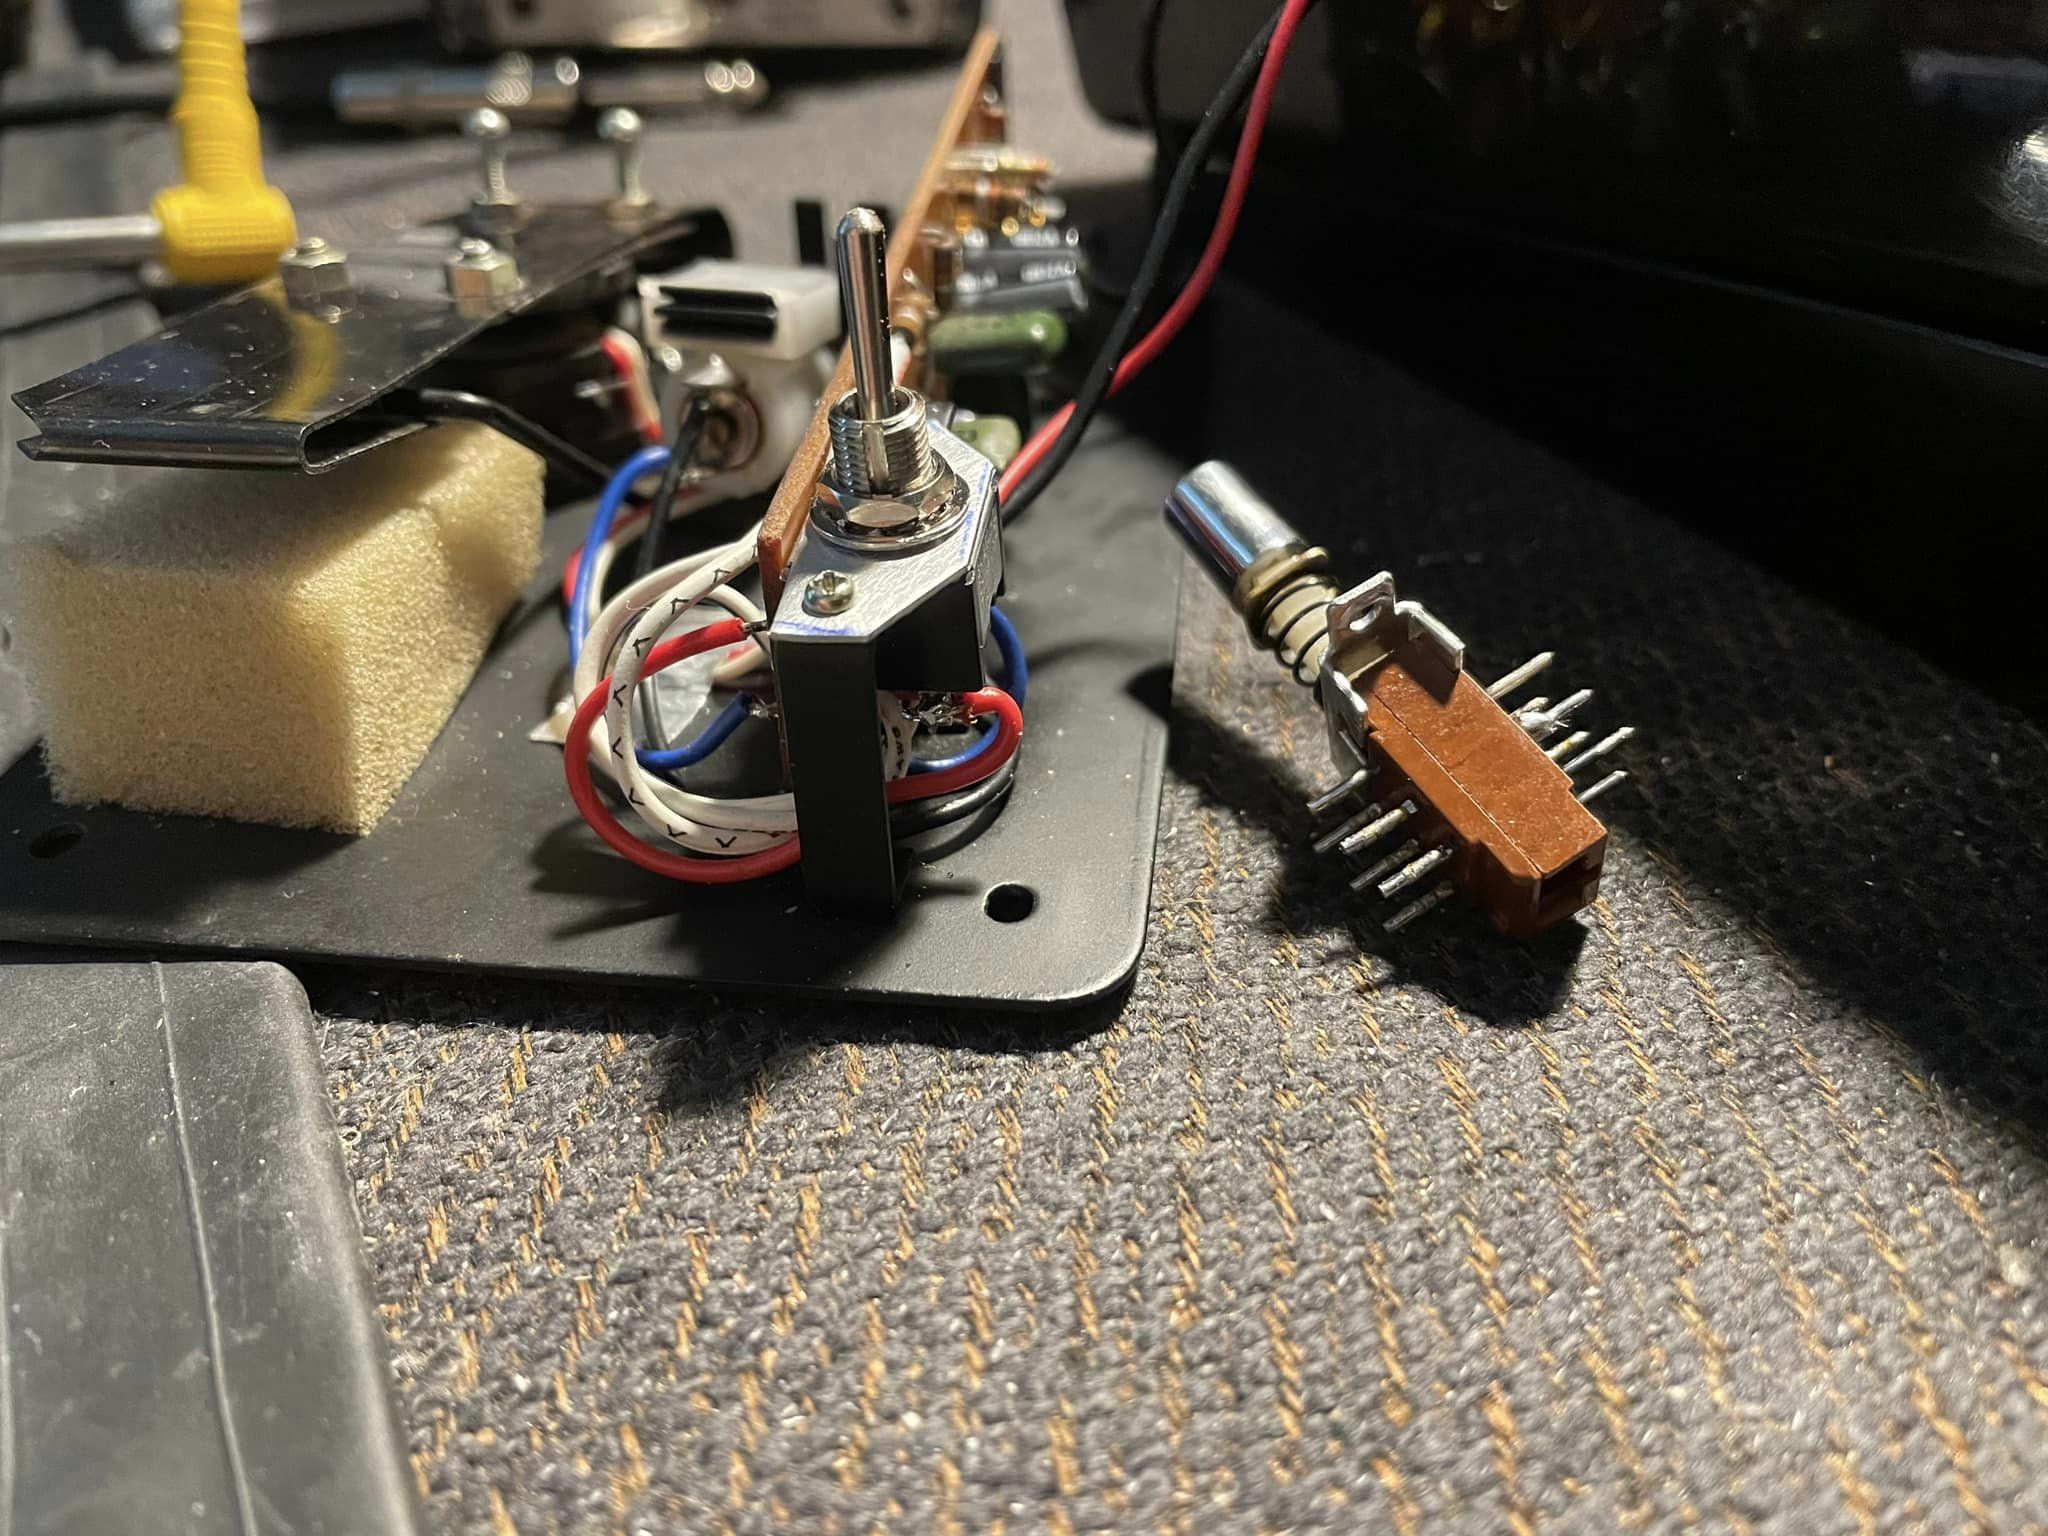 |
This was my temporary solution of using a DPDT toggle switch while I was sourcing a replacement switch. I made a bracked to hold it in place using the existing mounting tabs on the baseplate. It worked OK and possibly could have even been a permanent solution for a studio only environment. |
 |
The original switch is a unicorn. I couldn't find an exact replacement. I like the design of it but the weak link was the type of plastic used for the plunger part of the switch - any kind of sideways force applied to it and it will break inside. I repaired it twice and it broke again both times, but I gave it a try. |
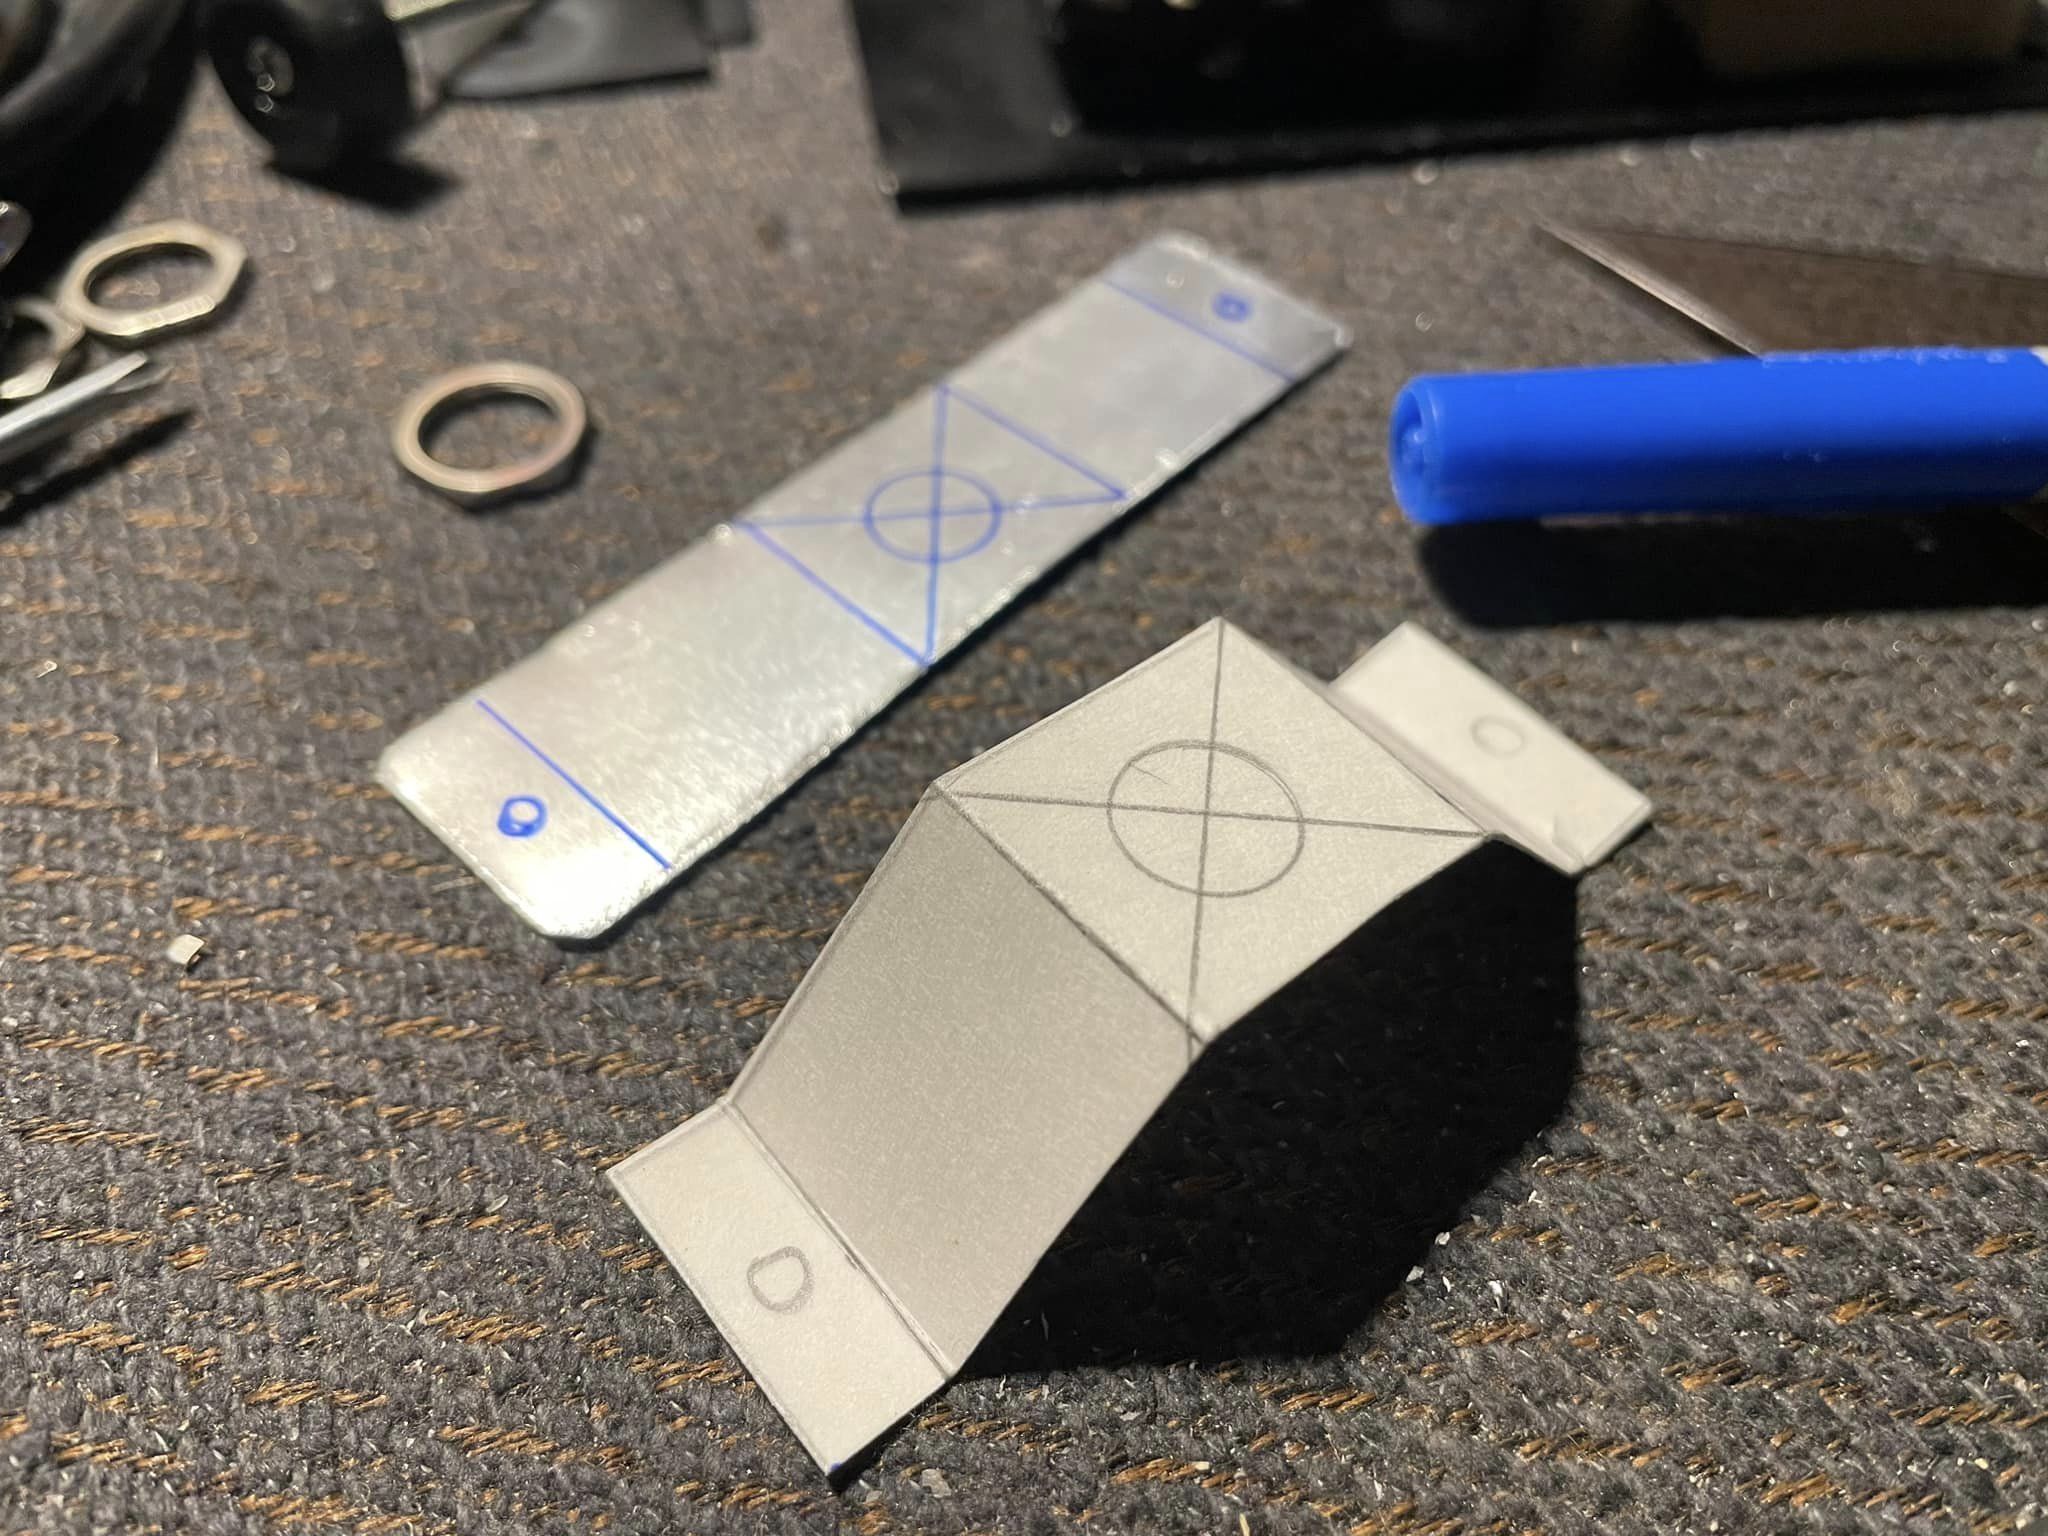 |
After doing some measurements I determined it would be just barely possible to cram a standard footswitch in there. I verified the fit using a template made from a paper plate which then in turn used to make the actual piece. The aluminum came from a donor cookie sheet. |
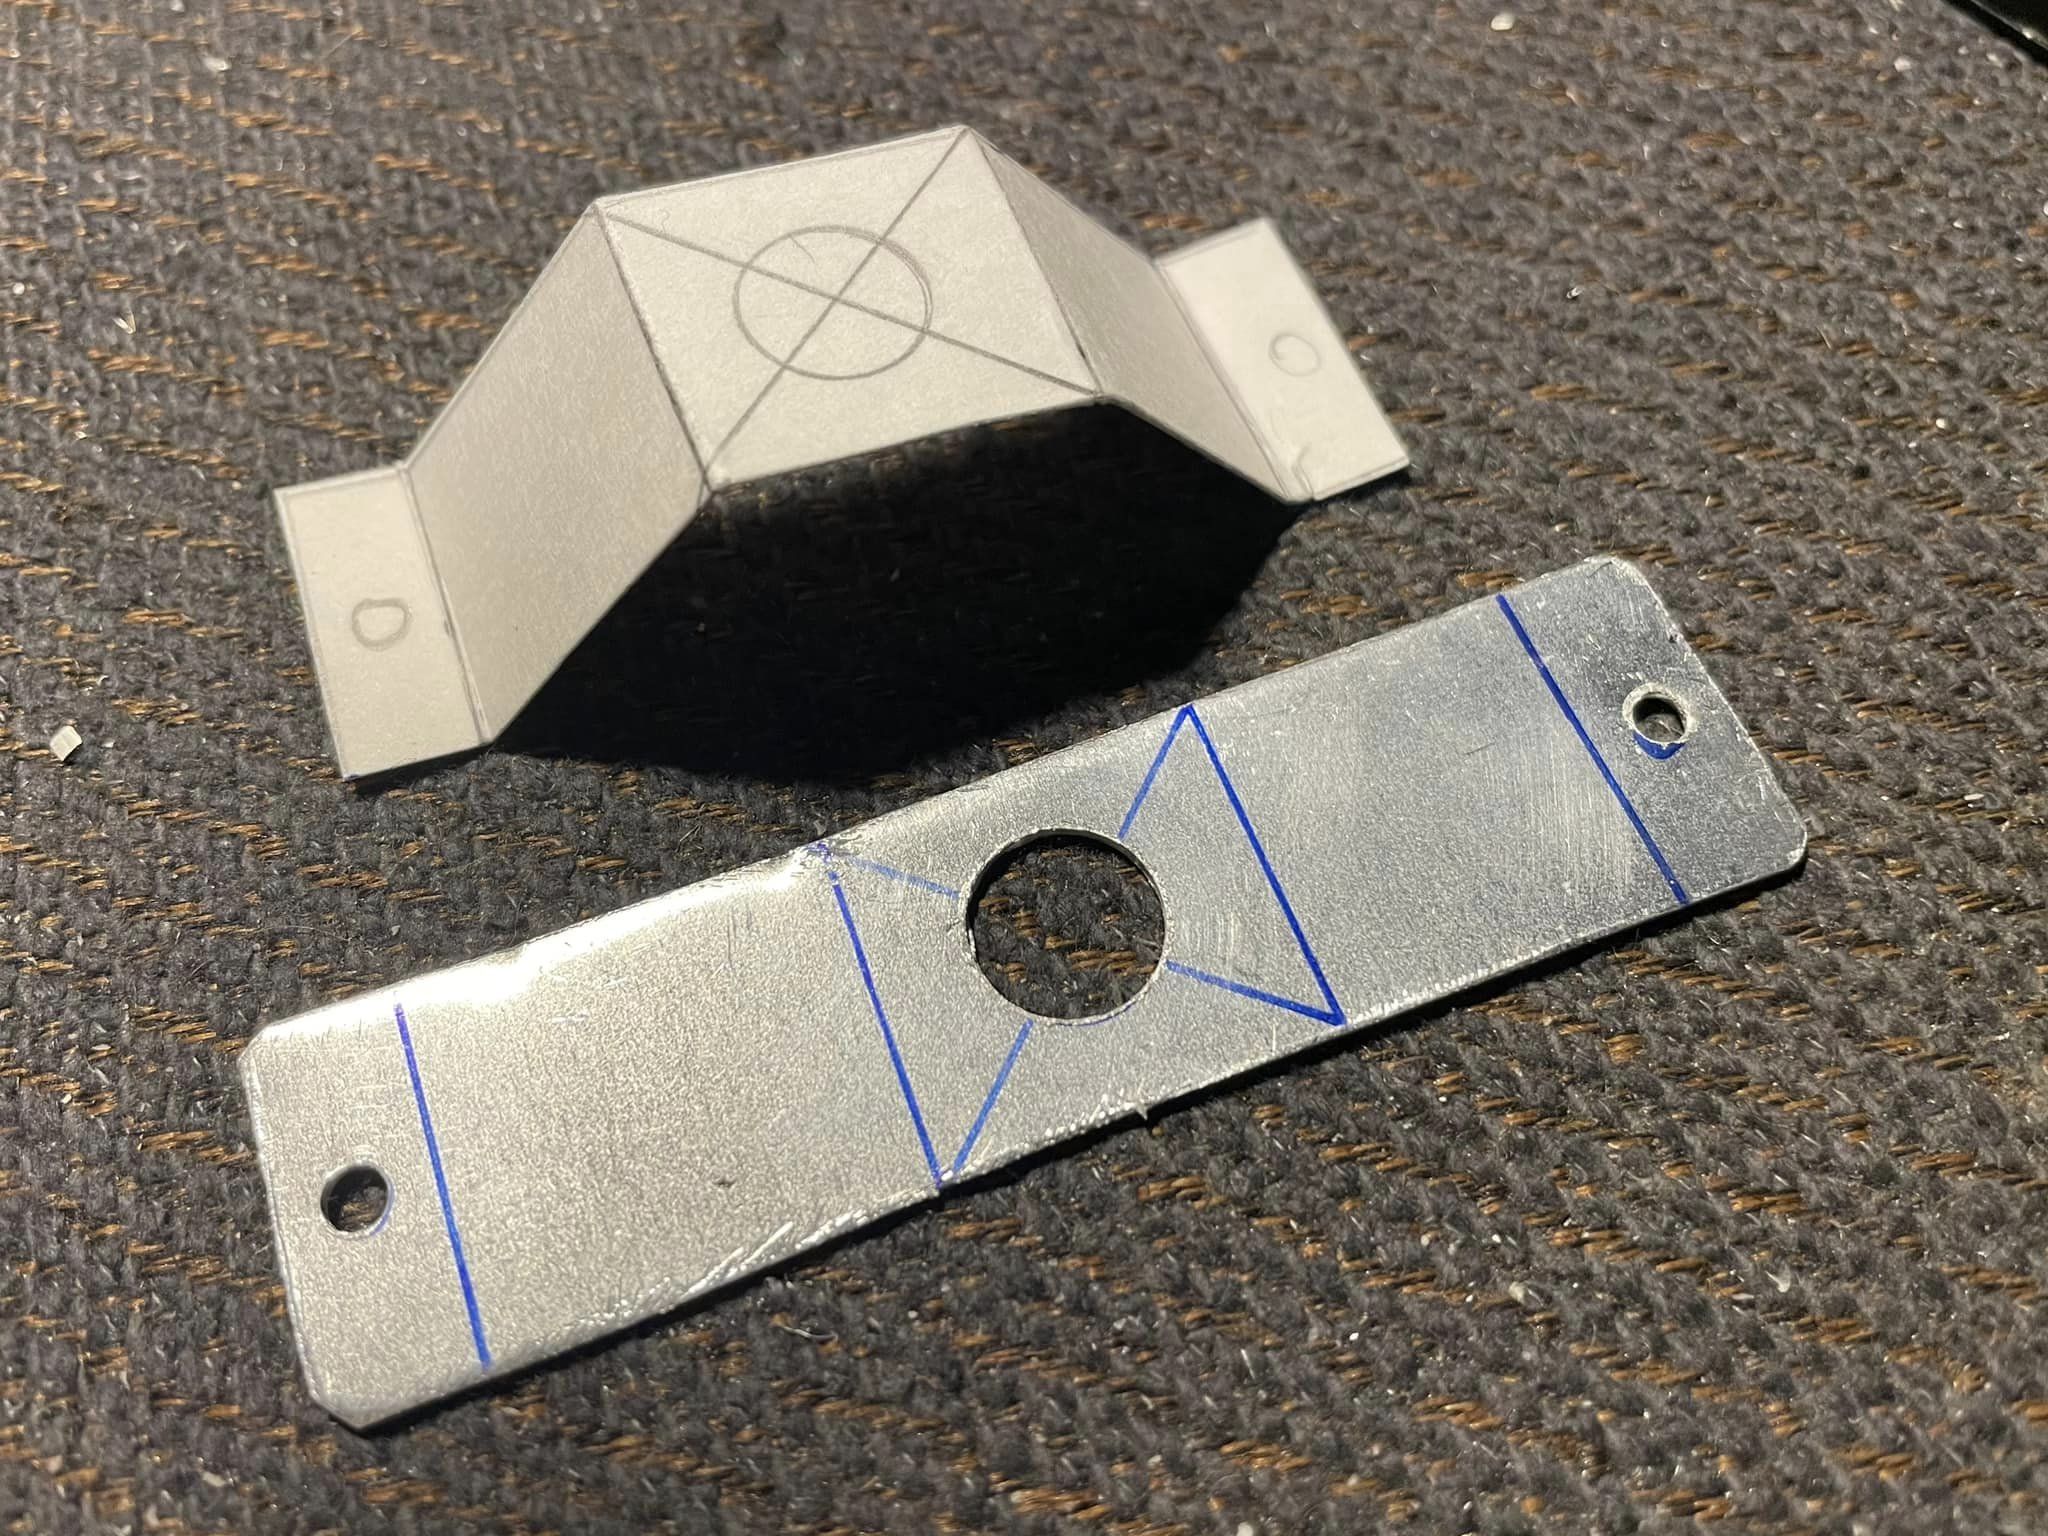 |
Here I had just finished drilling the necessary holes. The next step was bending it as needed with a vice and needle nose pliers. I like that aluminum is so easy to work with. |
 |
Here I was determining the angles and heights needed to make this work, and also where the holes would need to be drilled in the baseplate. A little bit of trial and error involved. The biggest pain in the rear was just the tight space to work with. |
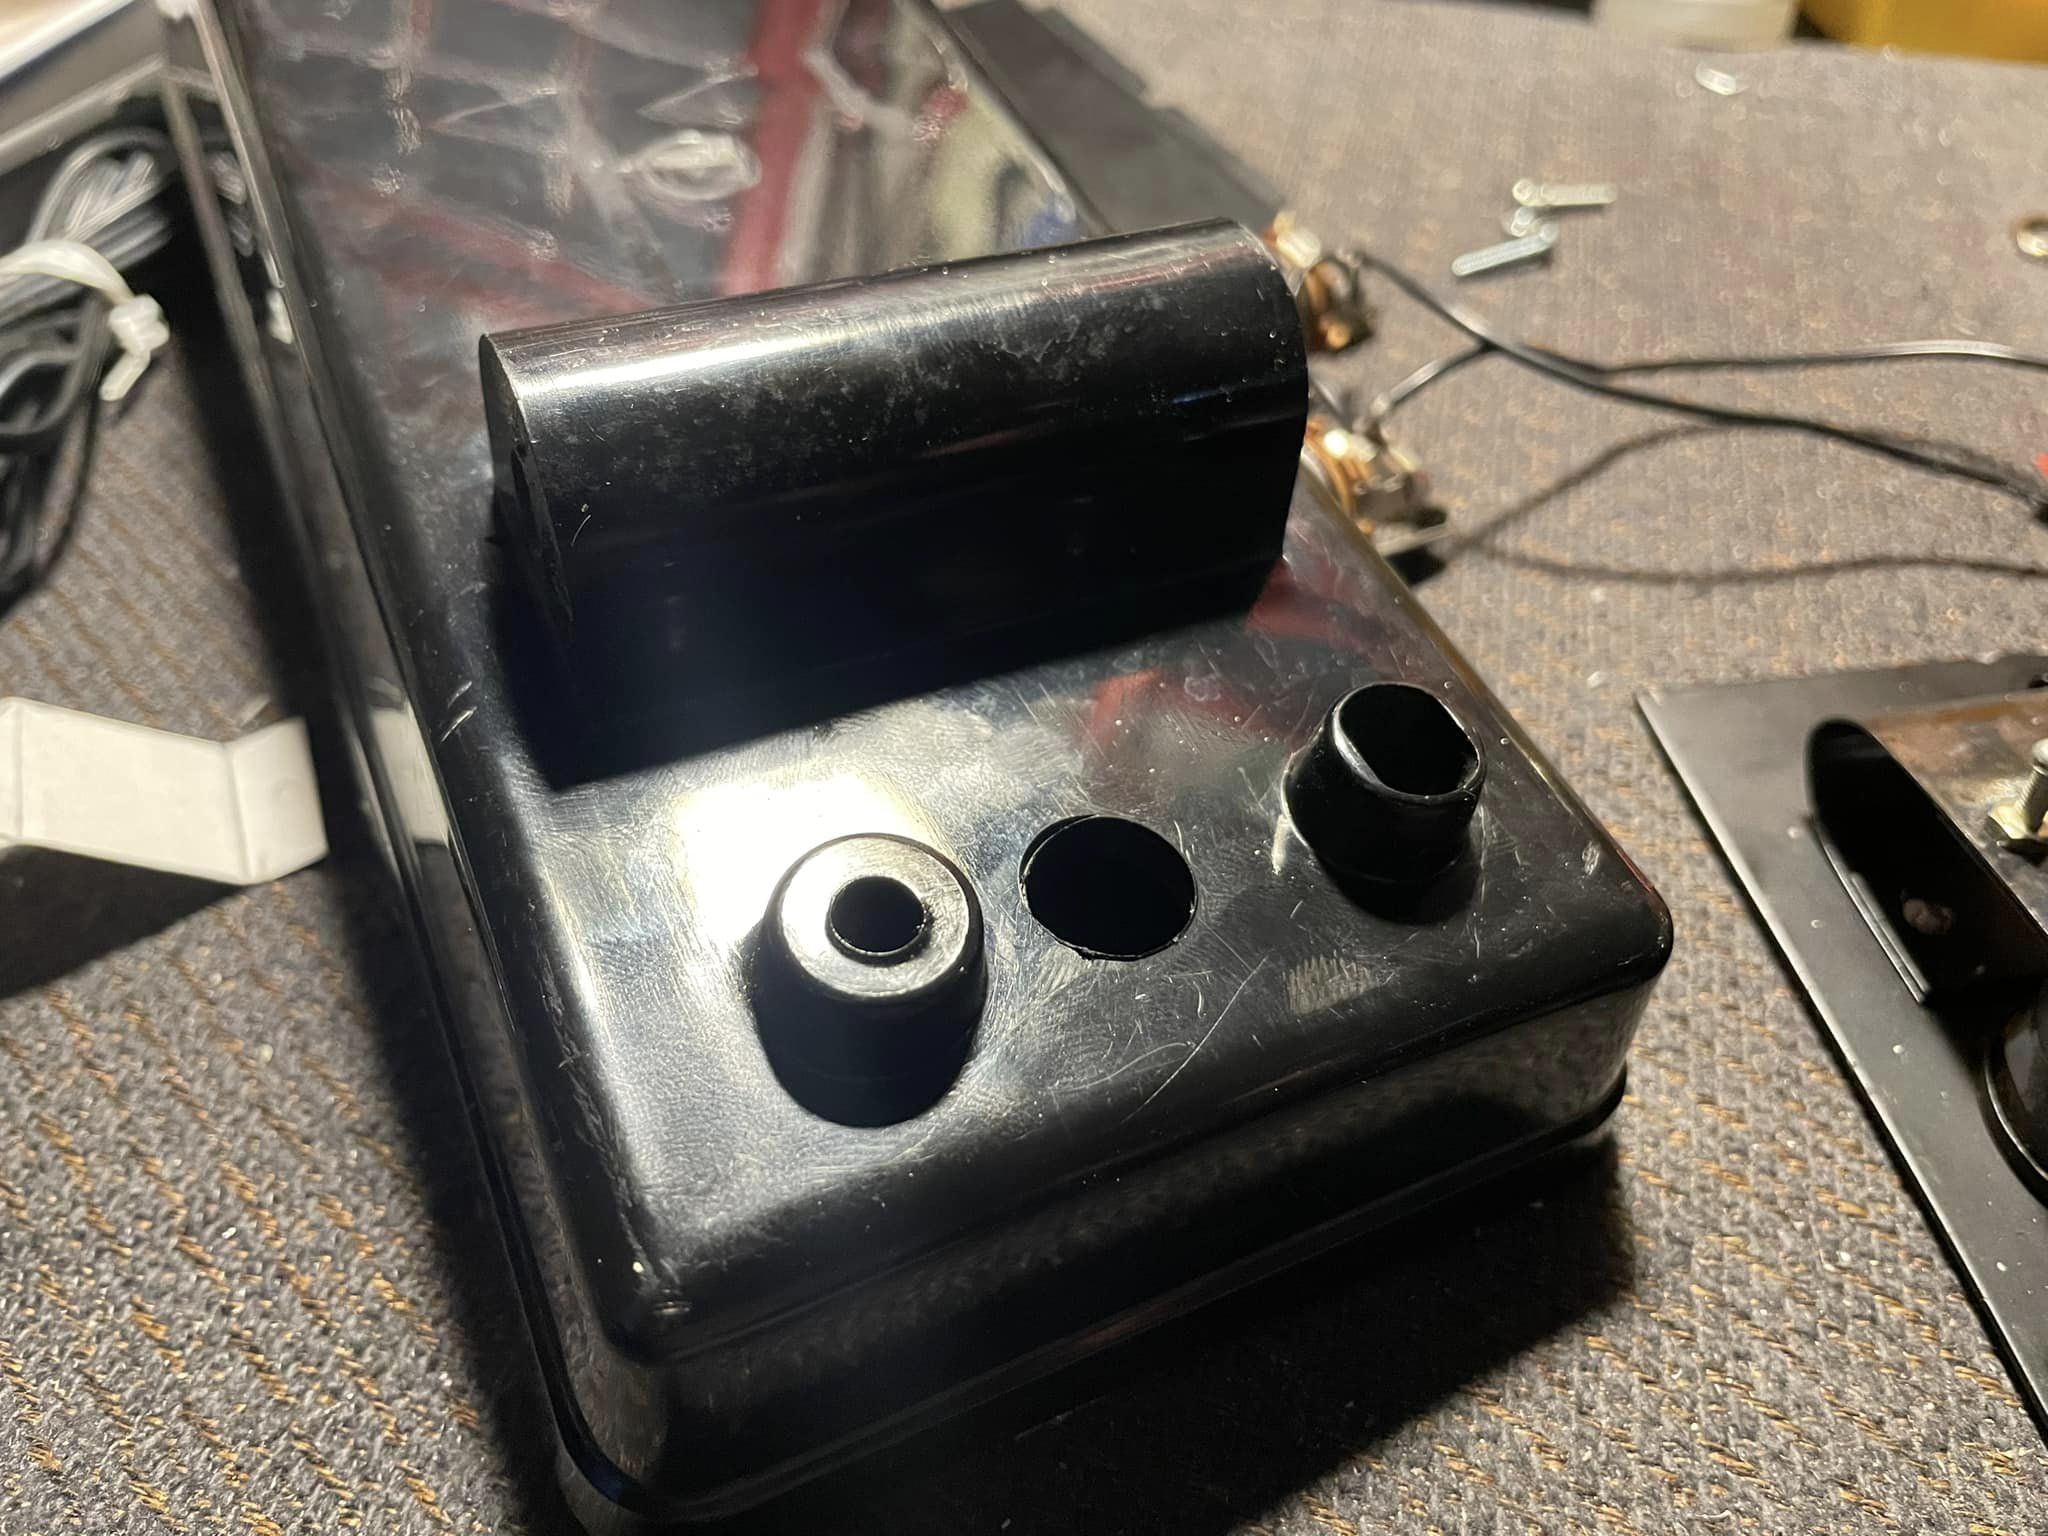 |
When I had determined that the mounting bracket was exactly where it needed to be, I had to drill a hole in the plastic enclosure. This was a little tricky because I had to get this hole to line up to be exactly where the hole was on the switch mounting bracket. With some careful measuring I pretty much nailed it. Only needed slight filing on one side of the hole to get everything to line up perfectly. |
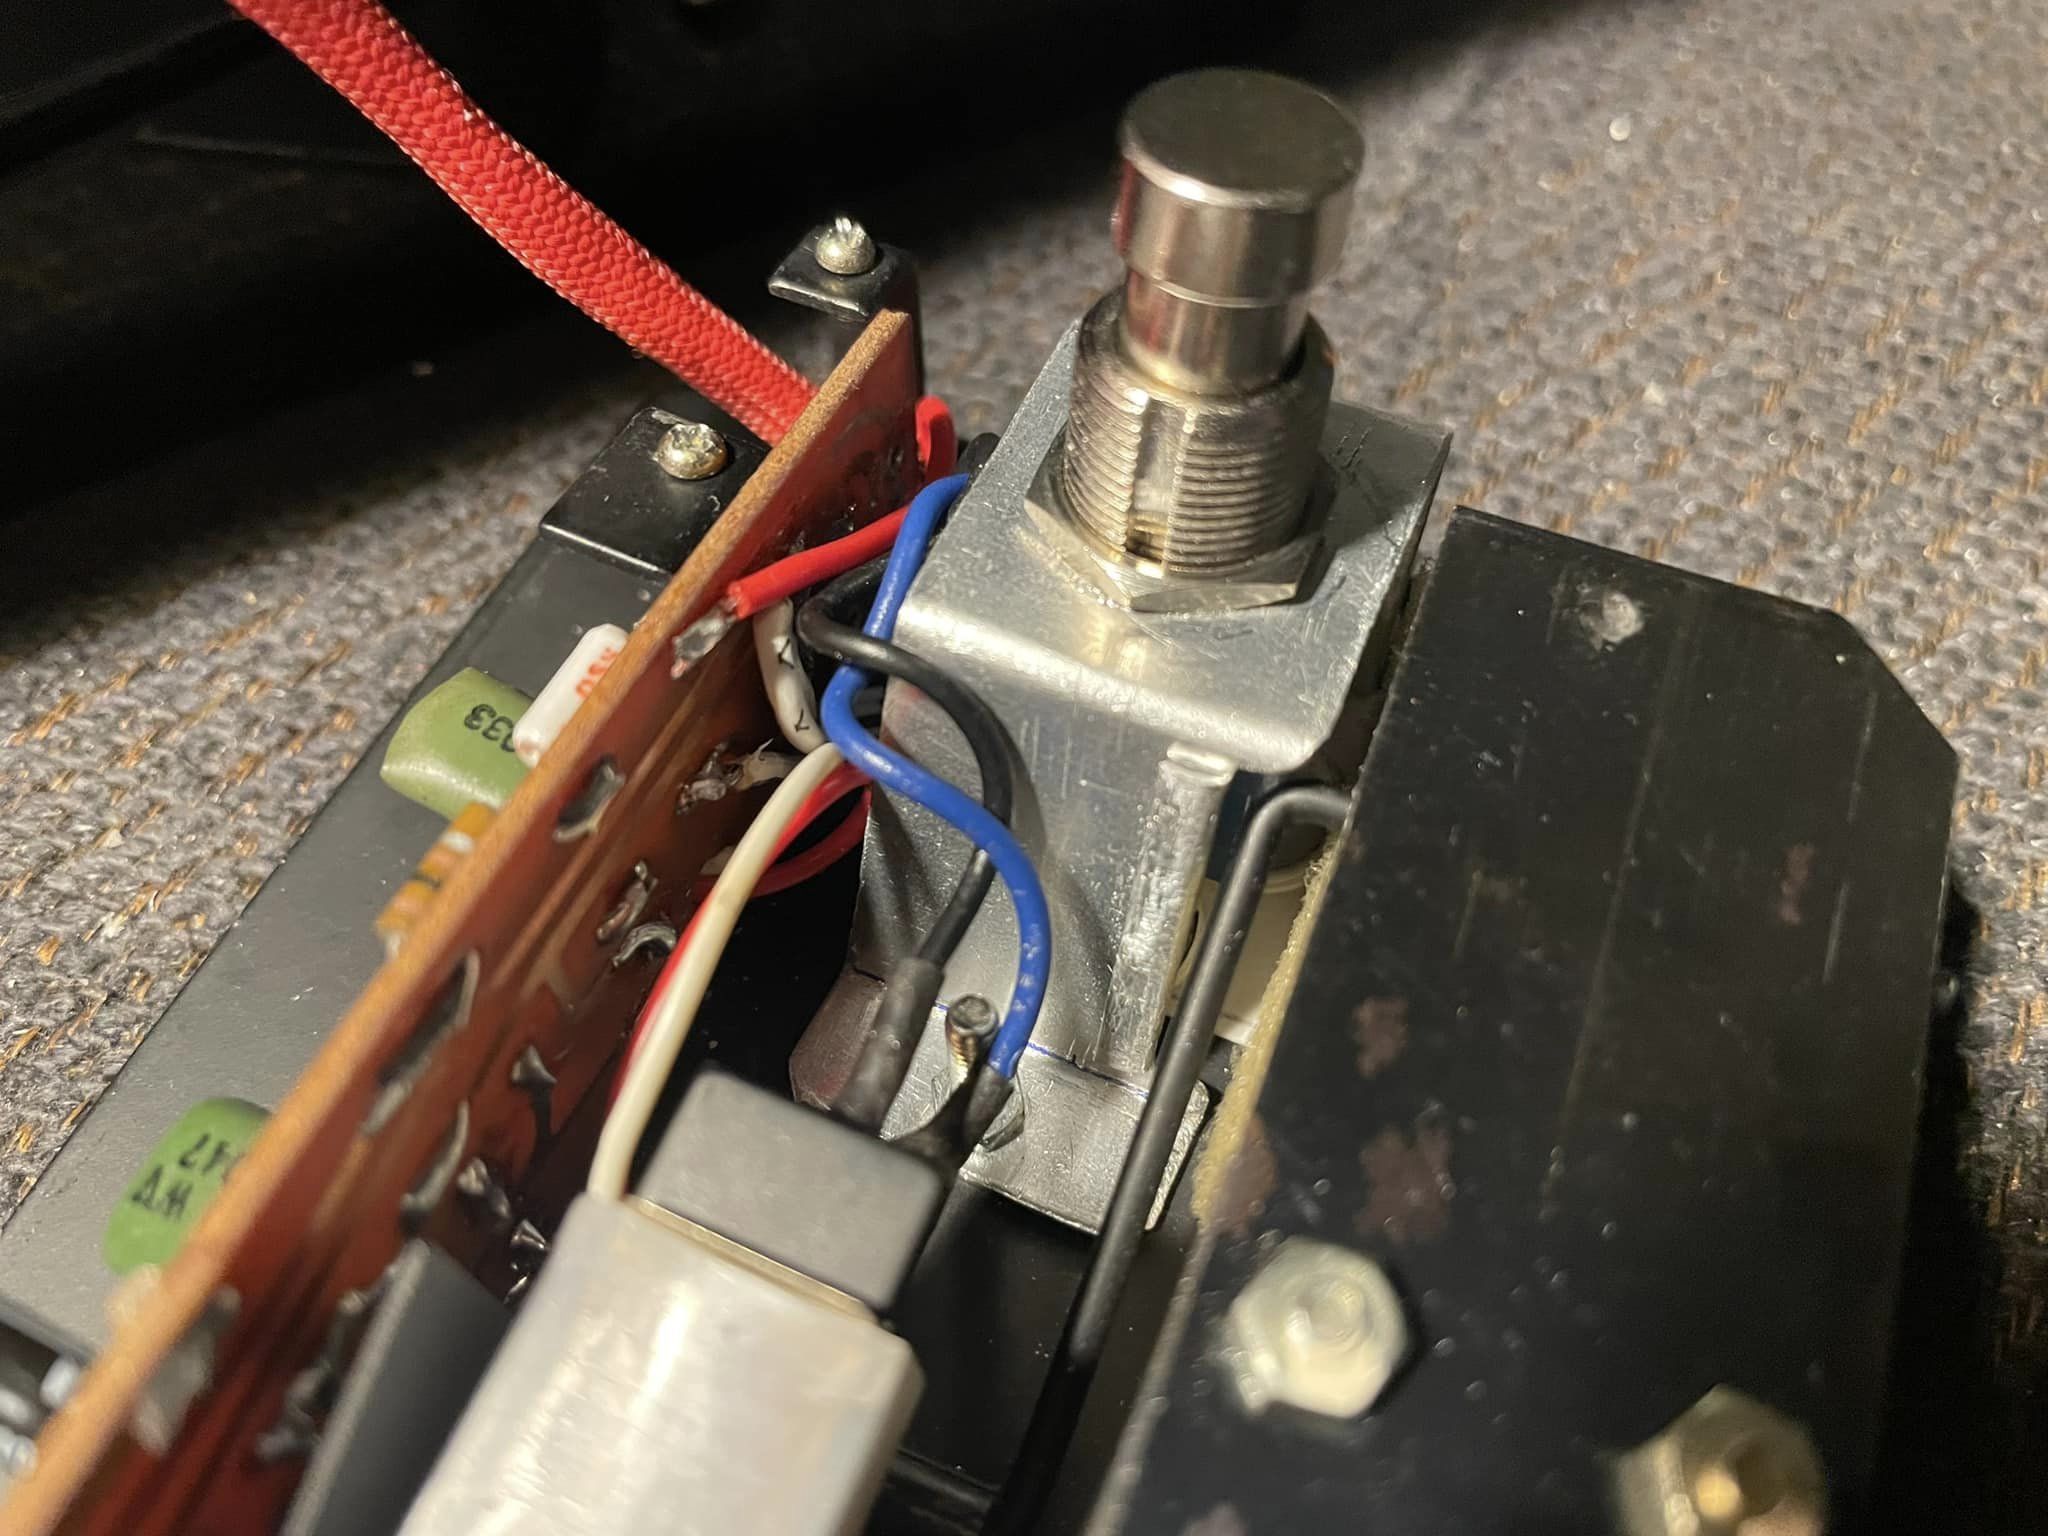 |
I also had to modify the bracket slightly to make room for the arm that controls the end of the flat spring. This was achieved by making two small cuts and folding it over enough so that it misses this control arm. |
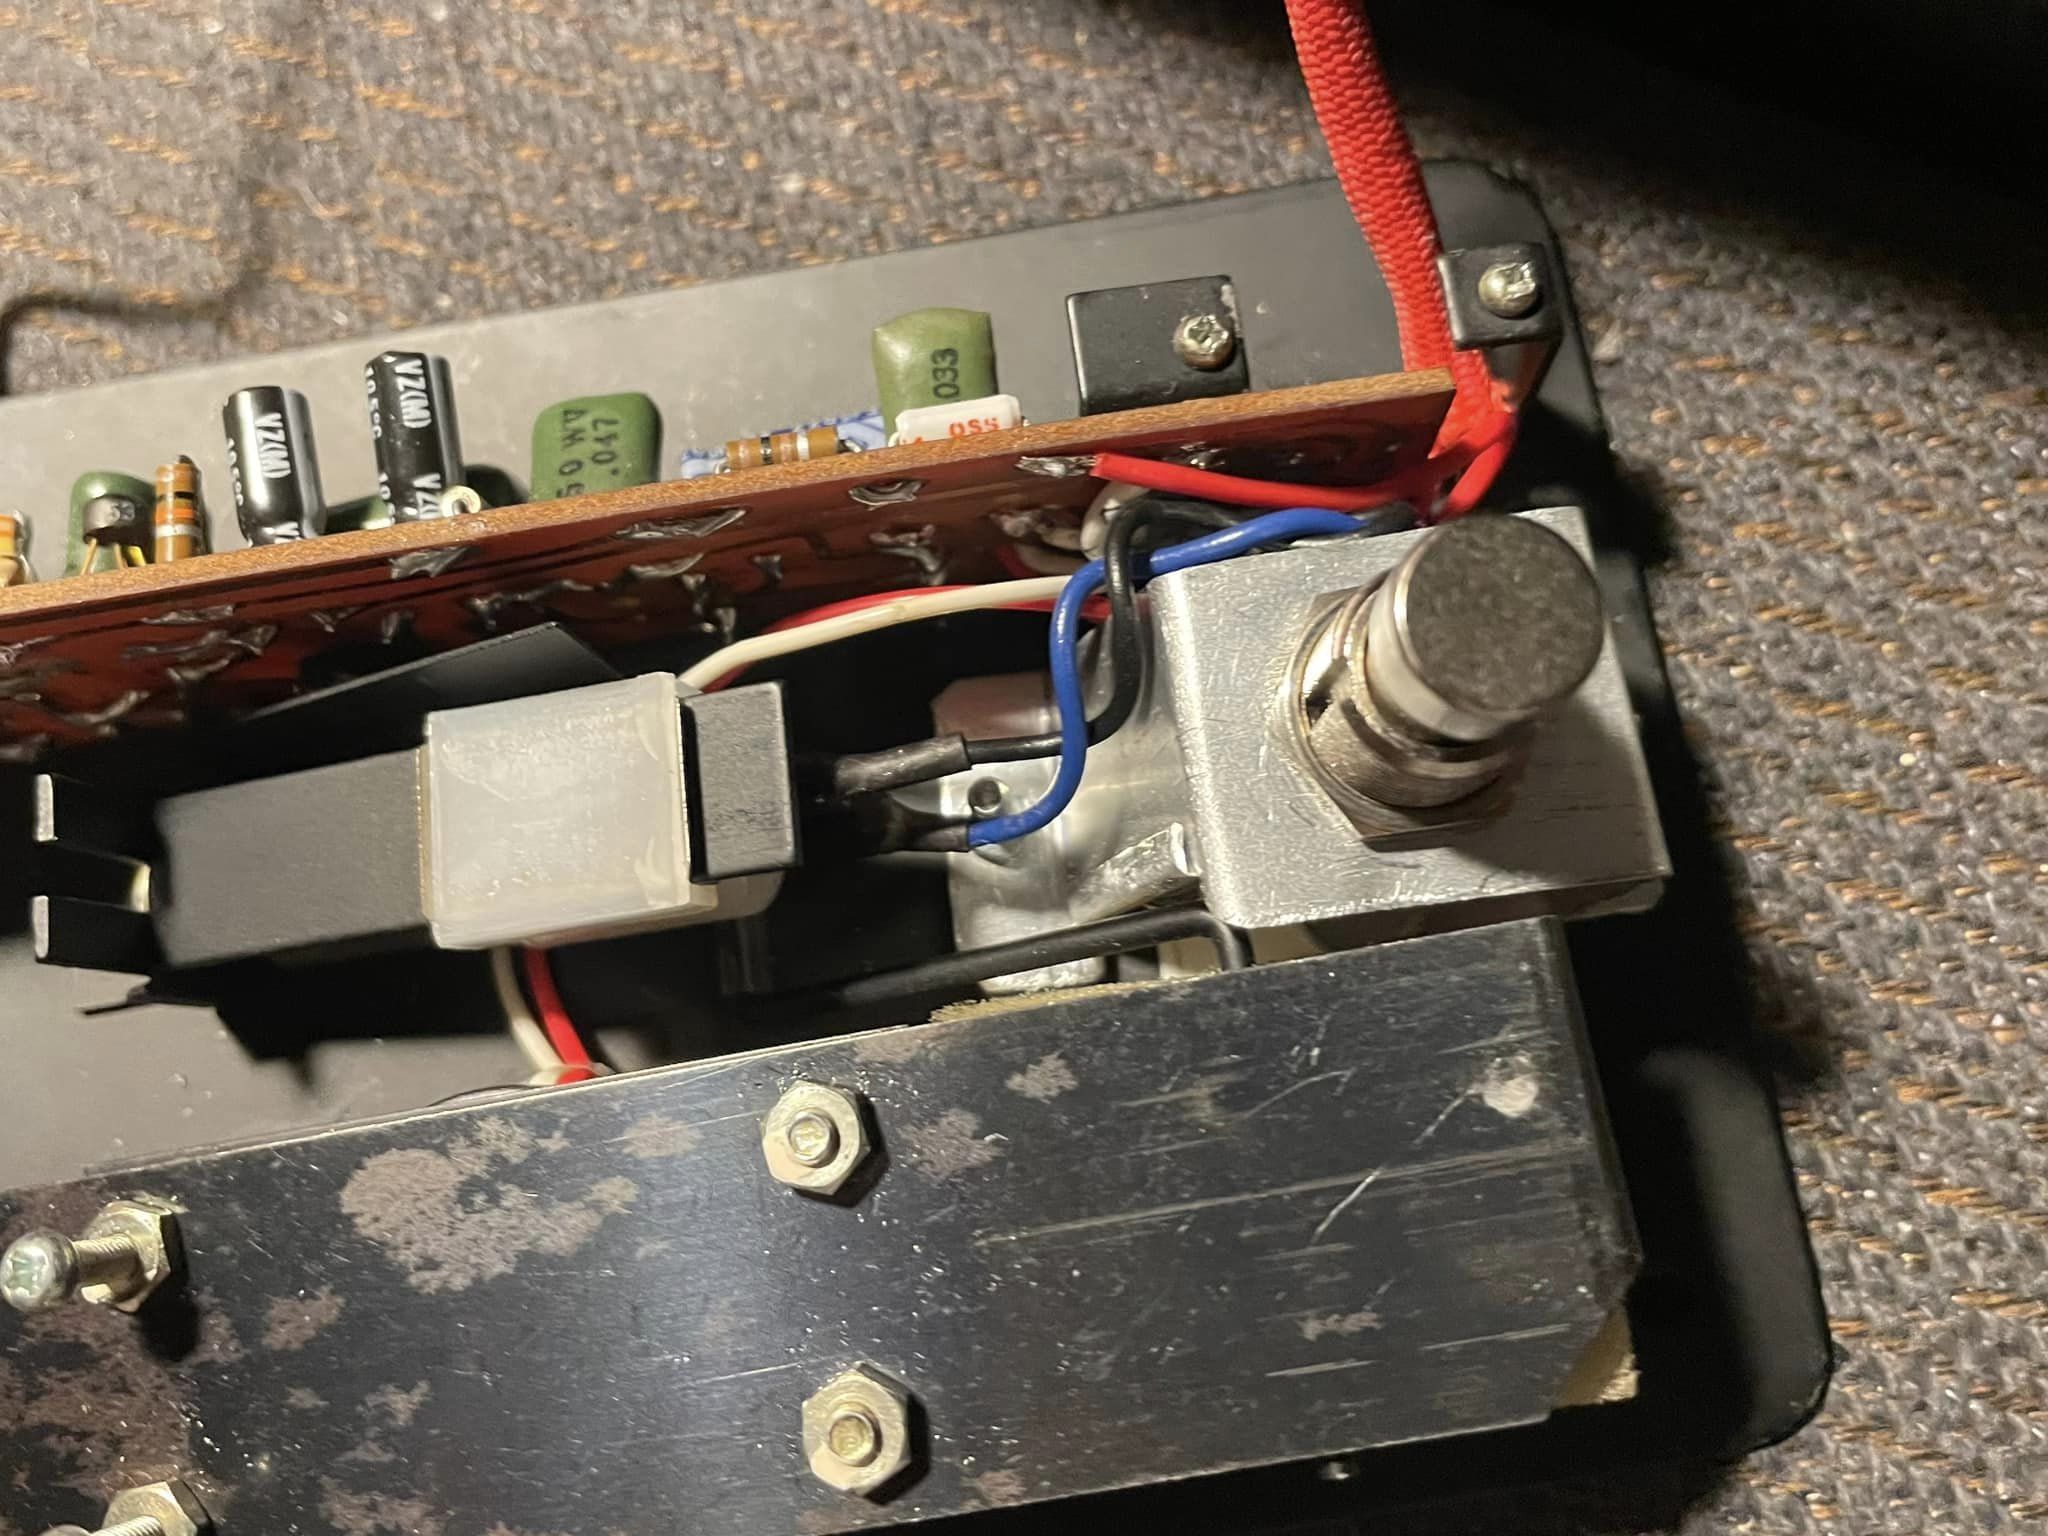 |
From this angle we can see that there is just enough room for the control arm to miss the switch mounting bracket. |
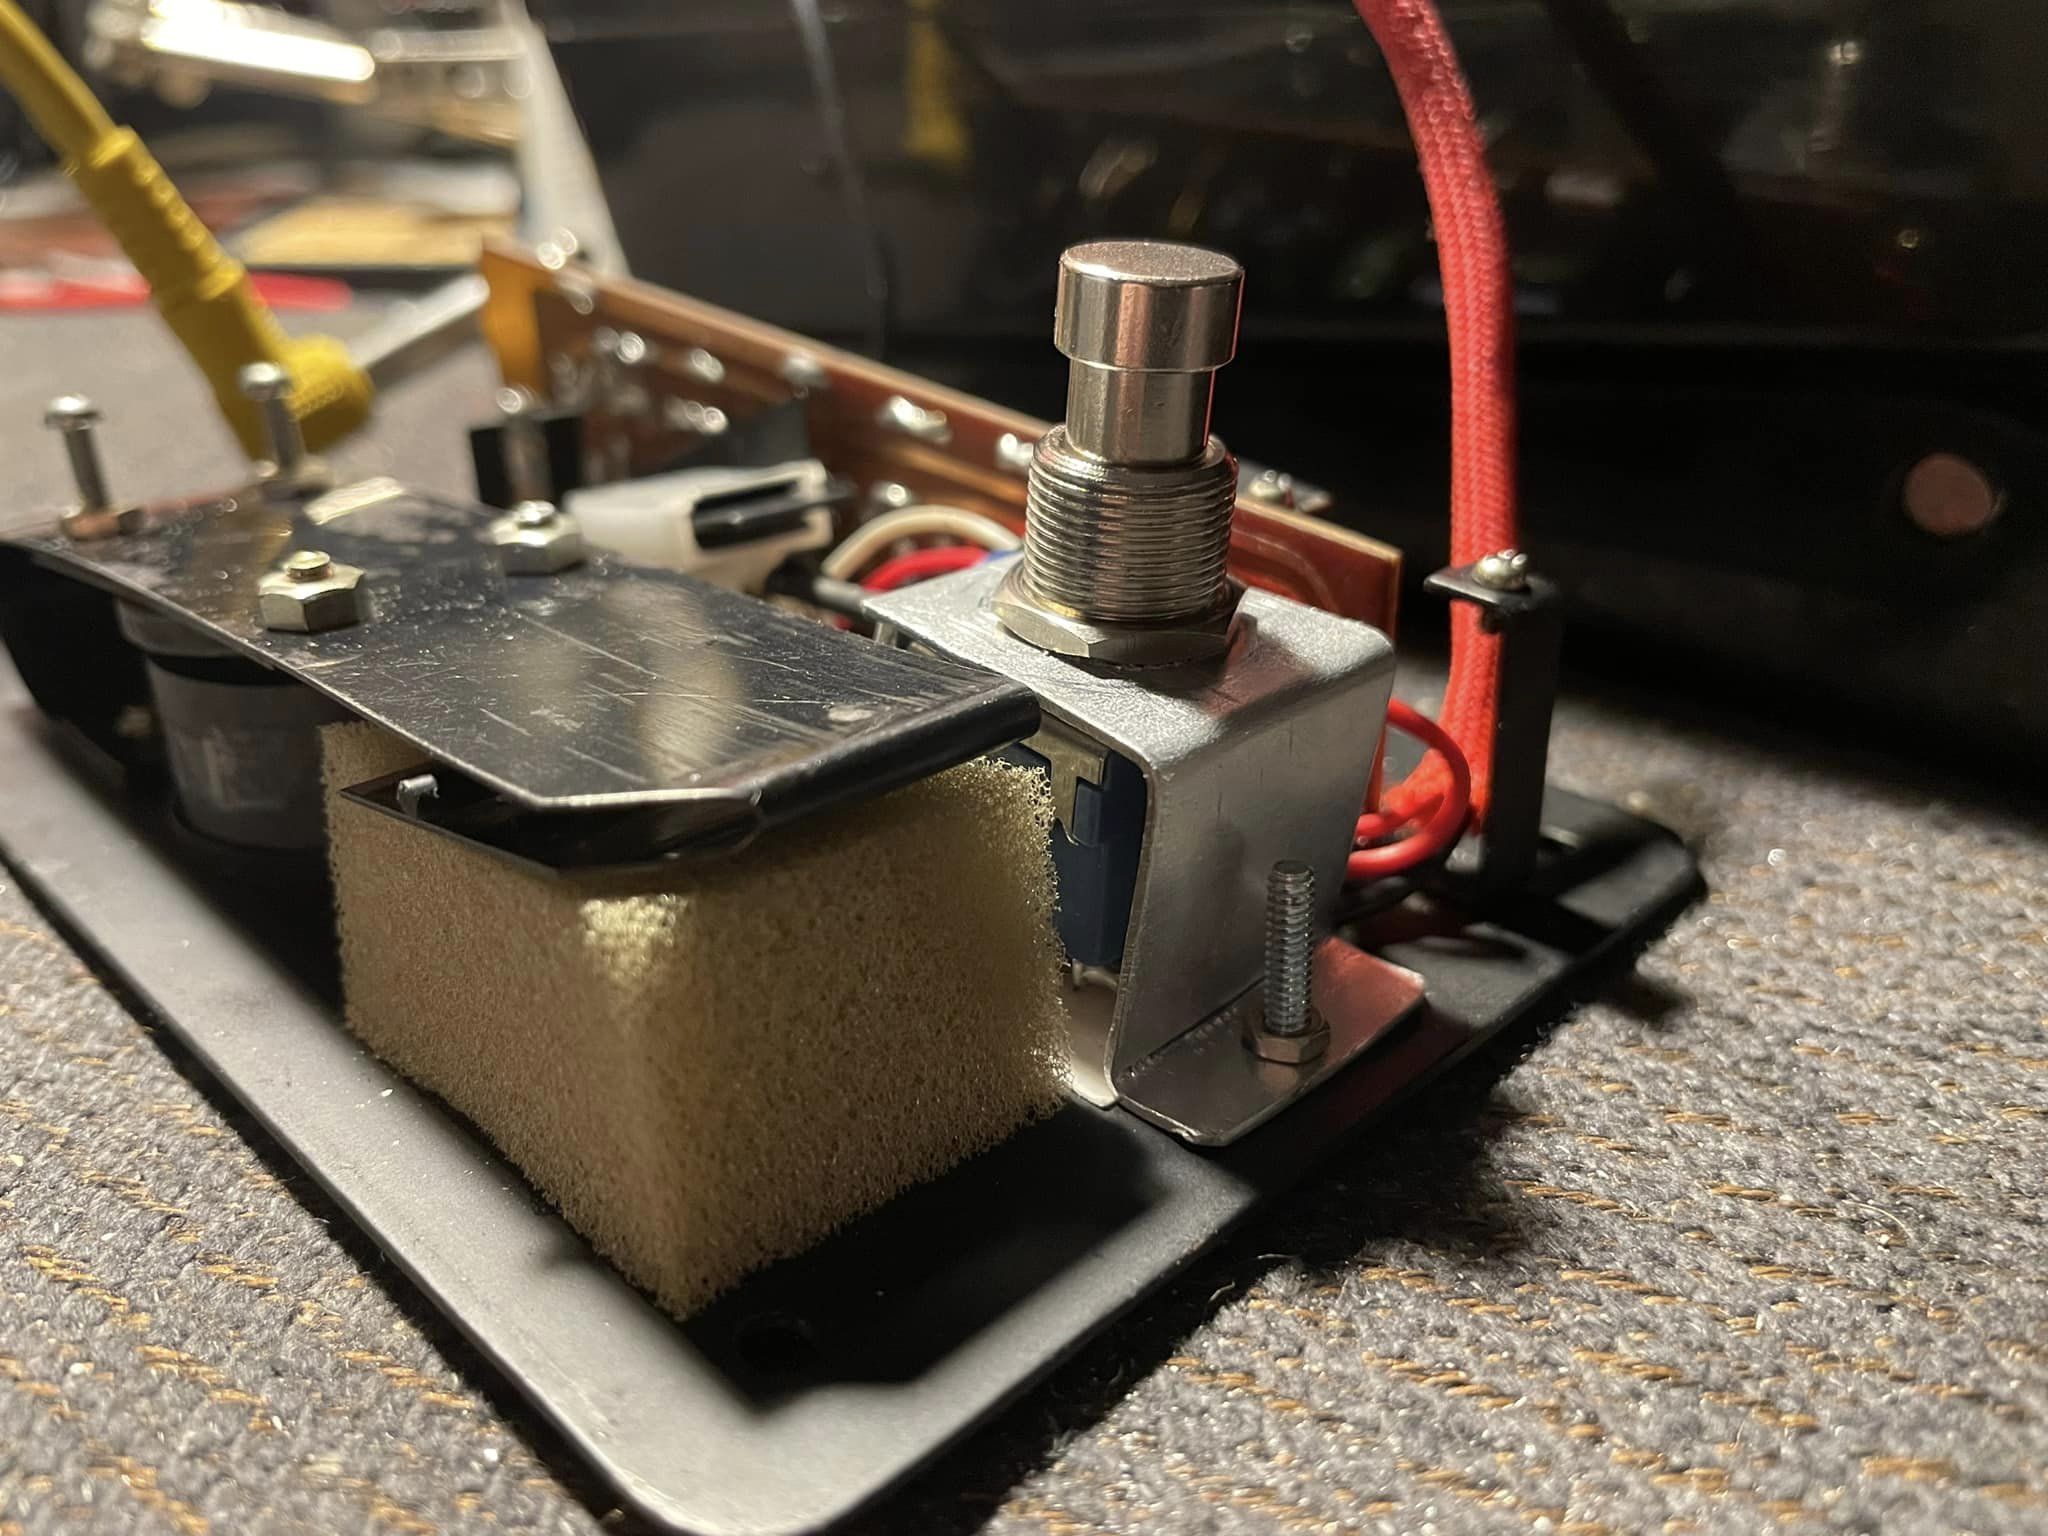 |
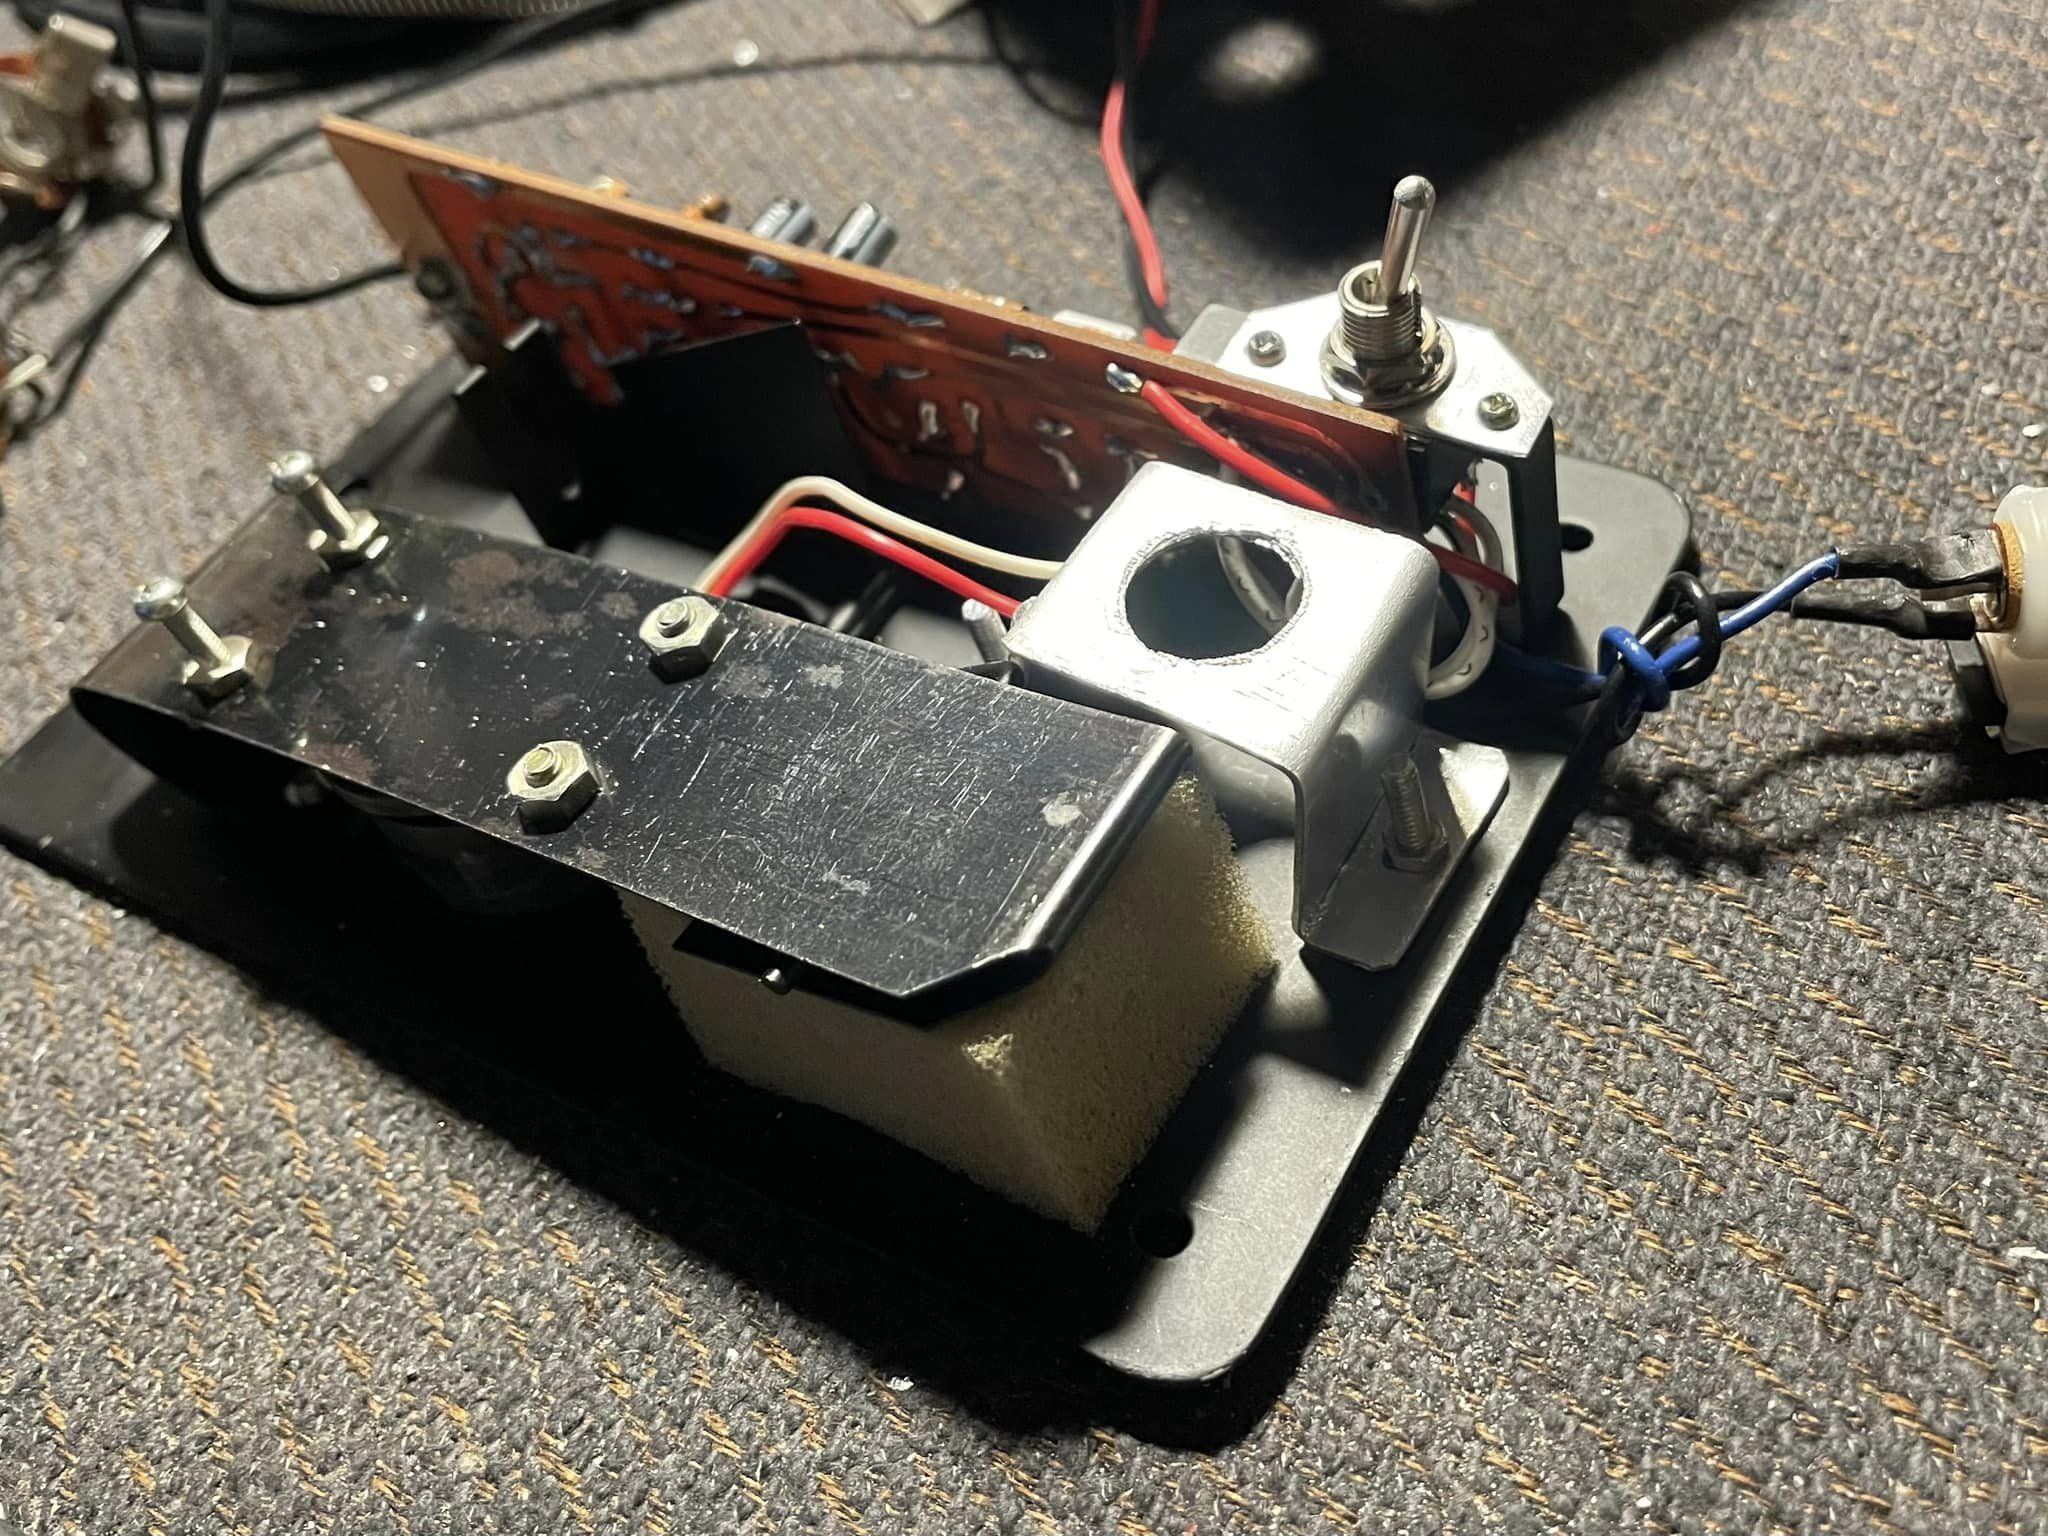
In this picture I tried to show the angles I needed to make this all work. The edge of the switch mounting bracket has to miss the inside surface of the plastic enclosure, which meant that the edge of the mounting bracket had to be about 1/8" from the edge of the baseplate. I used the top edge of the vertically mounted PCB as a guide. Whatever I ended up with had to be that same height and angle, or it would not fit in the enclosure. |
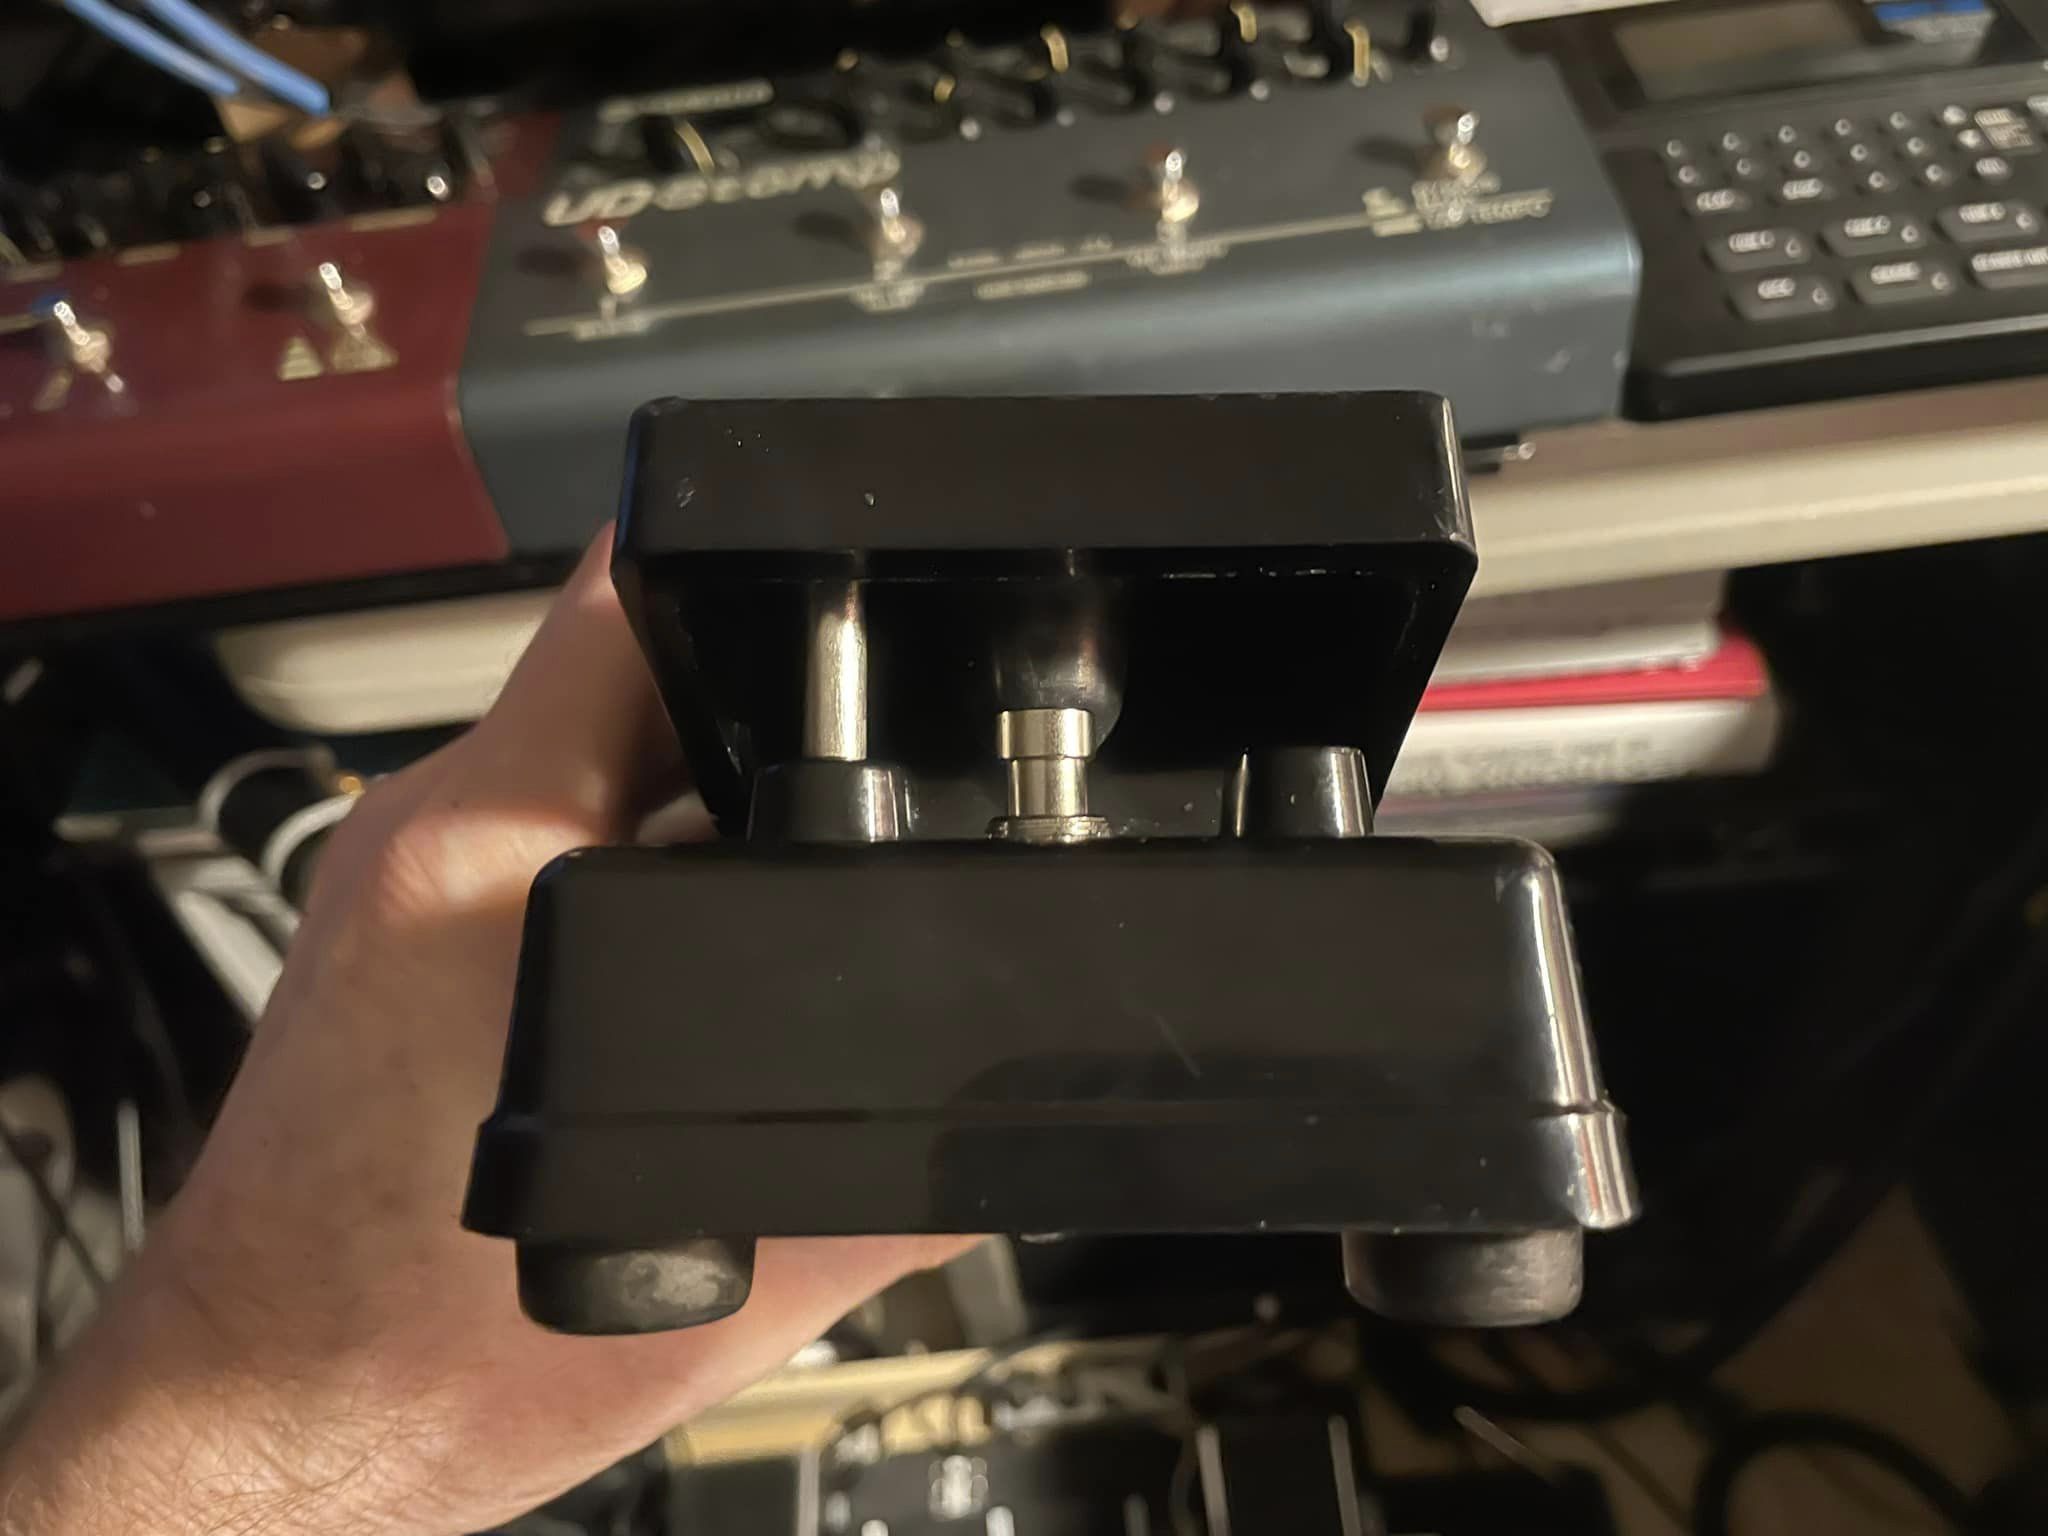 |
Here is how it looks when everything is put back together. It worked out perfect. No rubber bumpers were needed and it has just the right amount of force needed to switch between modes, without it being too easy or having to put all of your weight on it. The original switch plunger would have come up thru that "conning tower" on the right. I plugged it. |
If you've read thru all this you might be thinking: "Why bother? It's not even a sought after pedal." Well that's the beauty of DIY. If you're willing to spend the time and make the effort, you can do anything you want to get exactly what you want. I didn't pay attention to the time I spent doing all of this but I believe it was about 2.5 hours, not counting all the hours I thought about the possible ways to achieve what I wanted. I also like the challenge of making something that seems impossible, possible.