Repairing a Seymour Duncan Classic EQ Module
Last updated 4/26/10
I recently bought a Classic EQ Module off of ebay. The seller said that it squealed, and right he was! I wasn't too worried about that as I knew I had a 99% chance of fixing it. When I got it, I noticed that the module cup was all melted, so I know that someone ran the amp for a long time without the cooling fan being on and it got too hot inside the chassis for the plastic and it deformed. I've seen this happen before. Whether or not that is what caused the problem with the module, I do not know.
After I received it, I assessed it and concluded that it was probably squealing due to one of the IC chips on the daughter PCB being bad and/or one or both of the electrolytic caps being bad, so I had to dismantle the module to change the IC chips and replace the pair of 100uF electrolytic caps. I decided to just take the shotgun approach on this one as it's very difficult to try and measure voltages and stuff with the module in the amp.
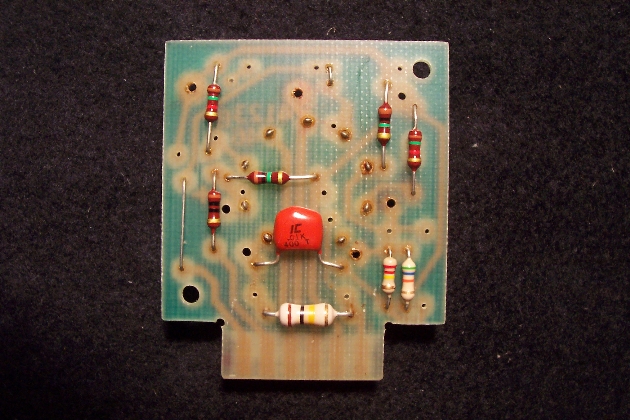 |
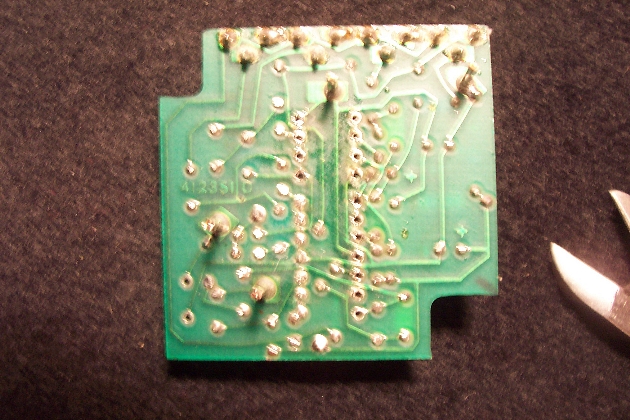
Here is the main PCB after the daughter board was desoldered. The original solder was difficult to get off, it didn't want to stick to my desoldering braid. |
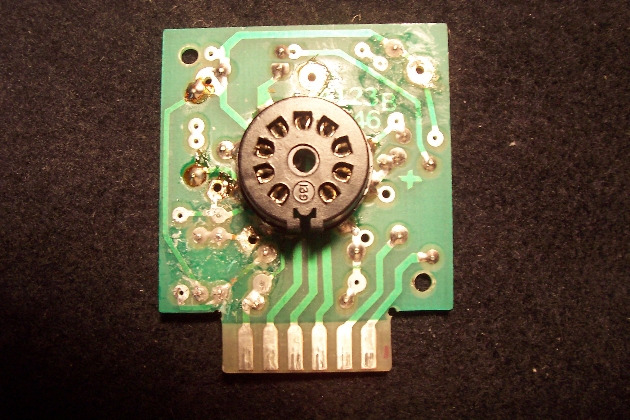 |
Here is the tube socket side of the main PCB for reference. To get the daughter board off of the main PCB, you have to desolder the four posts that connect them together. |
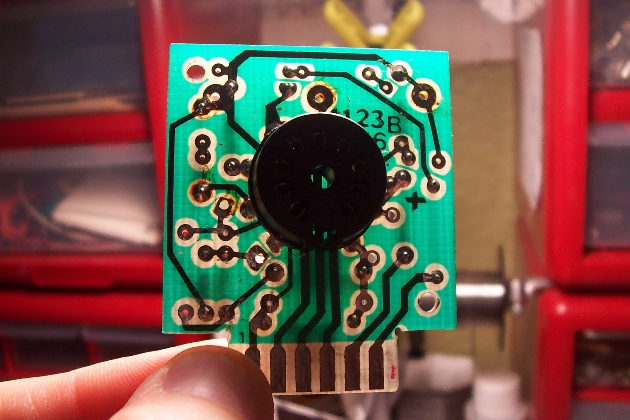 |
This is for reference, just to give a clear picture of the tracks on the main PCB. Looks like it is essentially a modified version of the standard Classic Module. |
 |
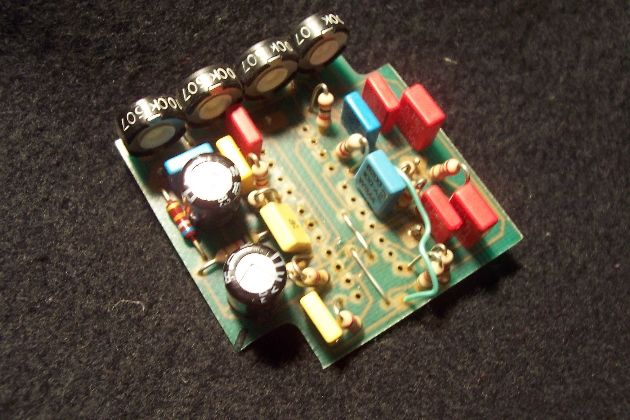
Getting the IC chips off of the daughter board was a real challenge. Same story, the solder wouldn't stick to the desoldering braid. So I had to cut the legs on the IC chips to get them removed. You have to be very careful with this PCB as it's damaged pretty easily, especially when heated too long with the soldering iron - the tracks will lift off the substrate. |
 |
This is the back side of the daughter board, for reference. The tracks are very narrow, about 1mm wide. |
 |
Here is the daughter board with the IC chips removed. I think this step took me about 45 minutes. It was a pain in the neck, but I did it. |
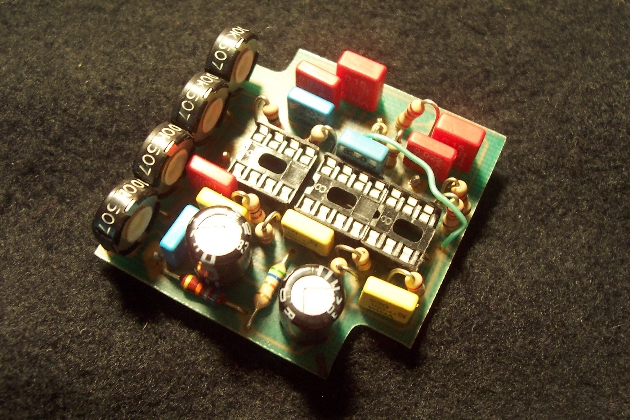 |
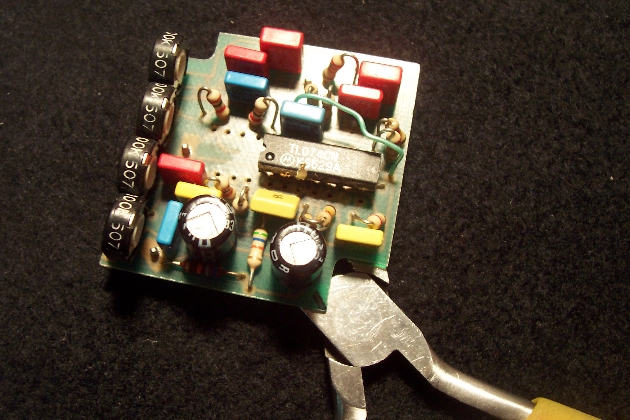
In this picture, I just installed the IC sockets. I didn't have a 14-pin socket, so I just used a pair of 8-pin sockets and trimmed one down as necessary. The IC sockets have to be as narrow as possible or they won't fit between the existing components. |
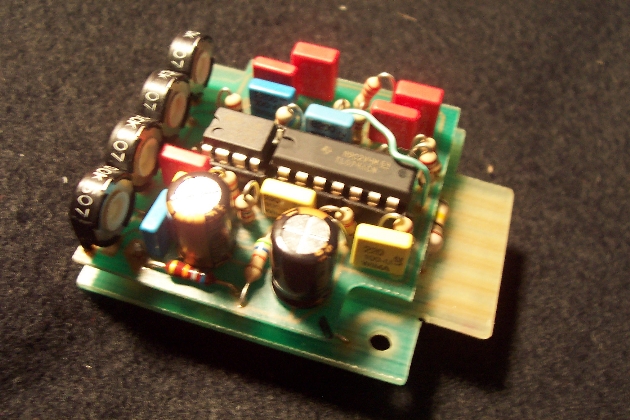 |
And here it is all back together again with new 100uF caps. With these IC sockets in place, any future IC chip changes will be a five minute operation. I don't know why Seymour Duncan didn't put them in sockets to begin with, it would have only added about 25 cents to the production cost of the module and would have made repairs very easy. I guess they didn't view these modules as repairable? |
After I completed this work, I put it in my Convertible and it worked just as it should work. No more squealing. Now all I have to do is round up a new module cup. At least I hope that I still can get these from Seymour Duncan. They still had a bunch of them the last time I checked.
Repairing these modules is not that difficult if you have experience desoldering things off of PCBs, like modifying guitar effects for example. It just requires some patience, careful work and about 90 minutes of your time.